I started saving wine corks on a whim after a dinner party, piling them into a jar like little souvenirs. Over time that jar became a tiny craft supply and a reminder of evenings with friends, and then I began turning those corks into small home pieces that felt personal.
Playing with textures and cork warmth led to unexpected home accents.
These wine cork upcycle home decor crafts range from cozy coasters to sculptural wall panels, each idea carrying a tactile charm that made me smile every time I passed by.
A cozy set of rustic cork coasters
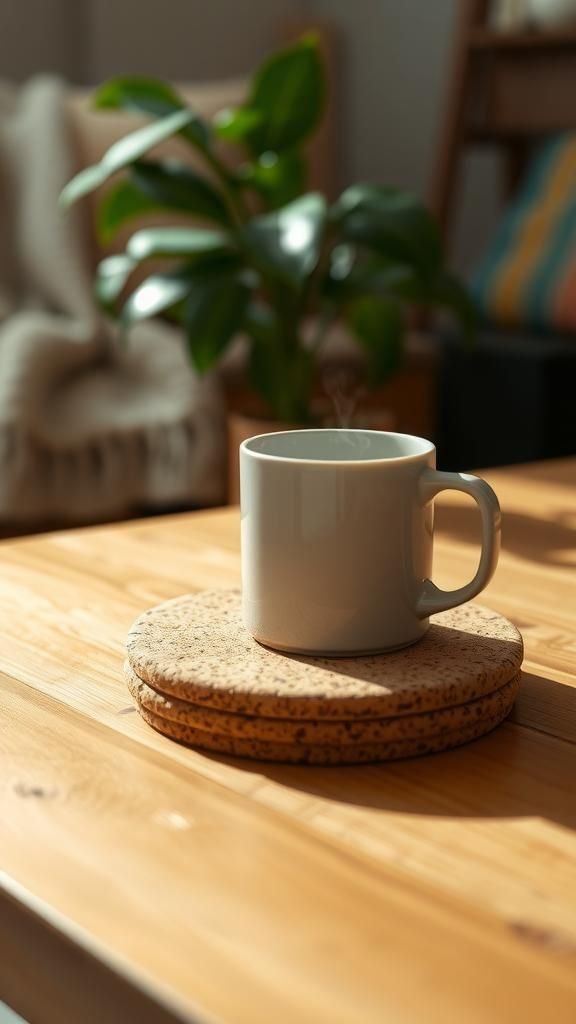
I remember the first time I pressed a cluster of corks into a round coaster shape; the scent of faint wine and oak rose up, and it felt homely. The surface has a cushioned give that makes glasses sit with a quiet hush.
The edges reveal the tiny grainy texture that invites a fingertip to trace patterns. Colors vary from pale honey to deeper browns, creating a mottled look that pairs with a chipped mug or a glossy tumbler.
They sit casually on the coffee table and seem to soften the room’s energy.
Steps
- Arrange corks in the desired coaster pattern on a flat surface.
- Trim corks to even height where needed with a sharp blade for flatness.
- Bond corks together by applying strong adhesive between contact points and pressing firmly.
- Allow the bonded coaster to dry fully on a level surface before finishing.
- Apply a protective finish to the top surface if a sheen is preferred.
Mosaic trivet that absorbs kitchen heat
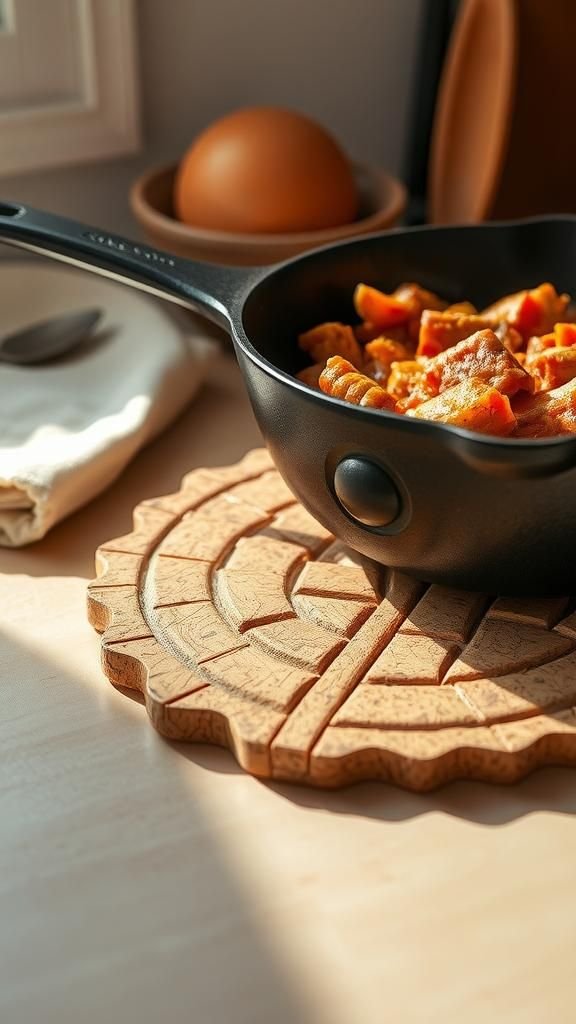
I enjoy the way a mosaic trivet feels under a heavy casserole dish, its thickness buffering heat and lending a casual, handcrafted vibe. The mosaic pattern catches light and the tiny cork edges create an irregular, tactile map across the kitchen counter.
The toasted, bark-like tones bring warmth against cold countertops and add an unexpected, organic element among metal pans. When a bubbling pot arrives from the oven, the trivet reads like an unintimidating landing pad, friendly and calm, with enough presence to feel like it belongs to shared meals.
Steps
- Lay corks into a trivet-sized layout that allows space for heat expansion.
- Cut corks to uniform height where necessary to create an even cooking surface.
- Secure corks side by side on a heatproof backing with high-temperature adhesive.
- Let the assembly cure fully, ensuring all joints are bonded.
- Optionally buff the top surface and apply a heat-resistant finish if desired.
A gentle cork bulletin board for notes
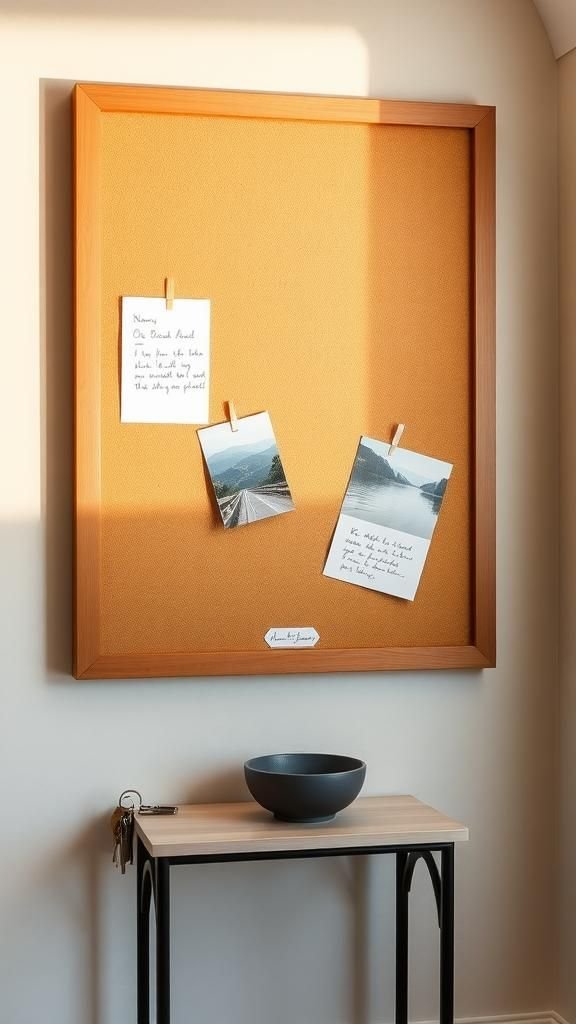
There’s a simple pleasure in tucking a note into a cork board and hearing that soft give as a pin slides in. This bulletin version brings that familiar sensation into a framed, tidy square that hangs by the door.
The surface carries an honest, earthy look; small holes and the grain of the cork add character, not imperfection. It collects postcards, scribbled lists, and a forgotten film ticket like a memory map.
It sits where hands reach most often and somehow makes daily snippets feel curated and calm.
Steps
- Trim a block of glued corks to fit within a picture-frame backing.
- Create a flat surface by sanding top faces to remove uneven spots.
- Affix the cork panel into a frame with adhesive strips or small nails.
- Hang the framed cork on a wall using appropriate hardware.
- Pin up notes, cards, and small mementos with push pins once the board is secure.
A wreath made from alternating cork textures

Wreaths feel like a warm greeting, and a circular arrangement of corks brings an unexpected neutrality to door decor. I liked alternating the smooth cylinder faces with ends that show the cork grain; it created a subtle visual rhythm that read from across the hallway.
The piece has weight and a quiet presence, neither flashy nor fussy. It sounds slightly hollow when tapped and looks natural with a sprig of dried flowers tucked into the curve.
On cooler evenings it seemed to catch porch light in a friendly way.
Steps
- Arrange corks around a circular base, alternating end faces for texture contrast.
- Secure each cork to the base by applying adhesive to contact points.
- Fill gaps with smaller cork pieces or dried foliage for a fuller silhouette.
- Let the wreath rest until the adhesive sets thoroughly.
- Hang the wreath on a door or wall with a ribbon or hook of choice.
A plush textured bath mat from wine corks
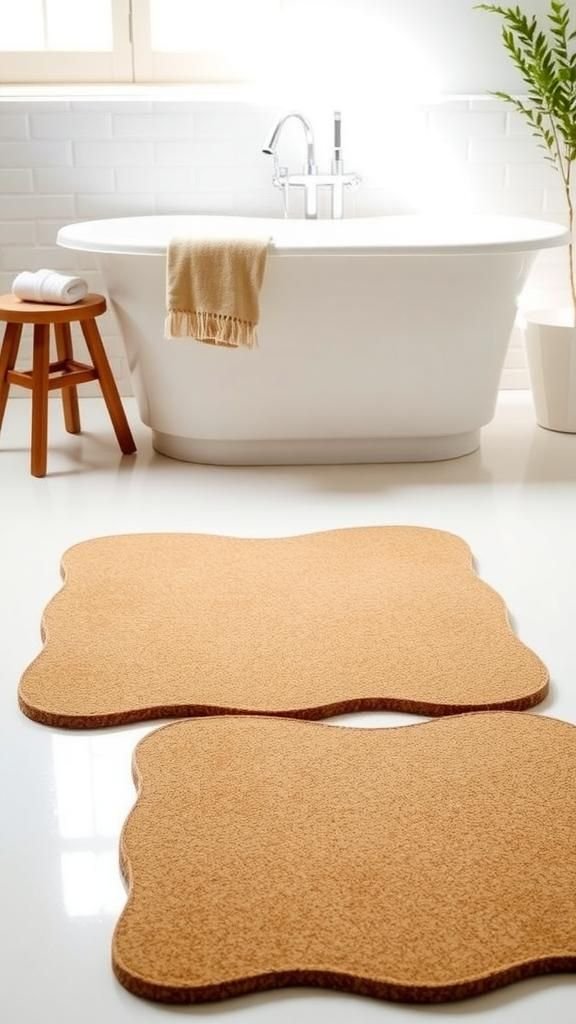
Stepping out of the shower onto a cork mat surprised me with its gentle springiness and earthy scent. The mat has a tactile personality, tiny irregularities underfoot that feel like stepping on a bed of tiny pebbles warmed by sunlight.
The color palette leans toward warm tans and cinnamon notes, and the overall weight gives it a grounded quality on a cool bathroom tile. It drains quickly and dries in an unshowy way.
The mat sits quietly by the tub, offering a friendly welcome to morning rituals.
Steps
- Slice corks lengthwise to create flattened pieces for a comfortable surface.
- Arrange the flattened corks in rows on a waterproof backing to match mat dimensions.
- Bond the cork pieces to the backing with water-resistant adhesive across the underside.
- Trim excess backing and sand any raised edges for a uniform perimeter.
- Allow the mat to cure fully before placing it on the bathroom floor.
Twinkling candle holders with cork bases

Cork bases lend a casual intimacy to small candles; the rough warmth of the cork contrasts nicely with flickering glass. I kept a set on the dining table and loved how the cork’s matte surface softened reflections.
The hollowed tops settled tea lights with a faint cushioned resistance, and the smell of cork mingled pleasantly with candle scents. The combination creates a quiet, low-key glow for weekday dinners and lazy weekend breakfasts.
They feel handcrafted and approachable, like little islands of light that invite lingering conversation.
Steps
- Hollow the top center of a cork to create a shallow cavity for a candle.
- Smooth the cavity with sandpaper to remove loose bits and ensure fit.
- Place a tea light or small candle into the hollow and check stability.
- Optionally coat the cork base with a thin varnish to add moisture resistance.
- Arrange the candle holders on a tray for a warm table display.
A painted picture frame with cork accents

I once framed an old travel photo and tucked cork pieces into the corners; the tactile contrast between smooth glass and porous cork made the image feel anchored. The painted frame edge provided a crisp color pop while the cork added approachable texture.
Every time I passed it on the shelf I found myself leaning closer to trace tiny cork lines with my fingertip. Light hits the cork differently than the painted frame, creating little shadows that give the photograph a lived-in, collected feeling.
It’s the kind of accent that invites a touch.
Steps
- Prepare a plain picture frame by cleaning the surface of dust and oils.
- Paint the frame edges with chosen paint and allow to dry thoroughly.
- Trim cork pieces to fit snugly into frame corners or along edges.
- Adhere cork accents to the painted frame using a strong craft adhesive.
- Let the assembly dry completely before inserting the photograph and hanging.
A mirror frame with patterned cork border
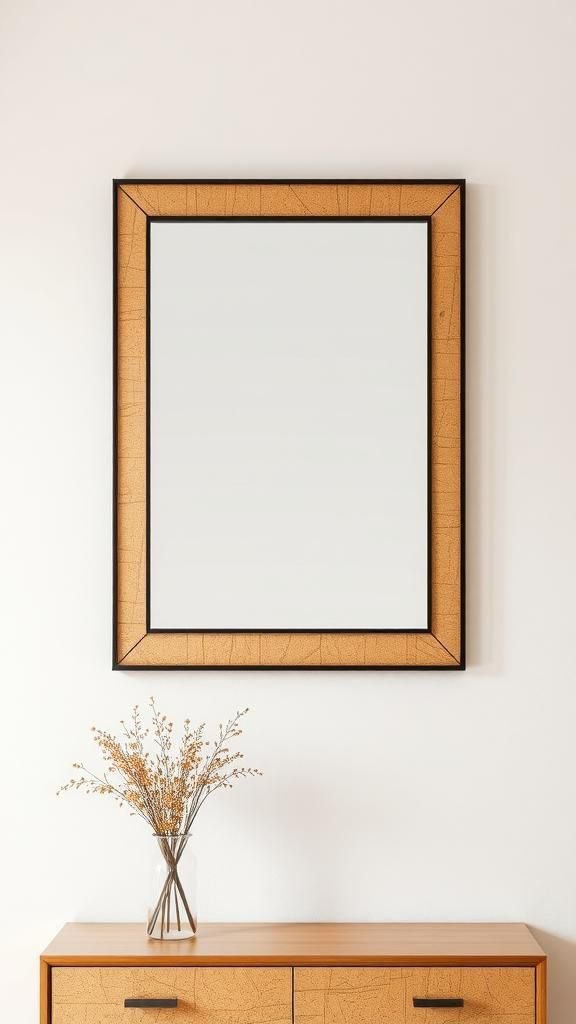
Surrounding a mirror with cork creates a friendlier reflection, less formal and more intimate. The cork border catches light in small, soft highlights and creates a pleasant perimeter that eases the contrast between mirror and wall.
From a distance the pattern reads almost like woven wood grain, while up close the porous, uneven faces invite a second look. The mirror felt more like a comfortable companion than a vanity object, and it hummed warmly with the rest of the room, especially against painted plaster and linen curtains.
Steps
- Measure the mirror perimeter and plan a cork layout to match dimensions.
- Cut corks to consistent thickness for a level border around the mirror.
- Affix cork pieces to a backing frame using a reliable adhesive, working outward from one corner.
- Trim any overhanging corks and sand edges for a neat finish.
- Hang the framed mirror securely and enjoy the textured edge.
Floating vase filler that feels earthy and light

Filling a glass vase with corks felt surprisingly airy; the lightness of cork allowed tall stems to stand without feeling heavy. Watching stems bob slightly against the cork created a calm little tableau on the windowsill.
Light filtered through the glass and warmed the cork tones, adding a soft golden glow to the arrangement. The sight was quiet and unpretentious, like a little memory jar that still breathes.
It brings balance between fragile glass and sturdy stems, and the contrast of smooth water and textured cork is pleasantly tactile.
Steps
- Select a clear vase and layer clean corks to achieve the desired fill level.
- Arrange stems among the corks so they rest securely and stand upright.
- Add water carefully, ensuring stems are hydrated without displacing corks.
- Adjust the cork arrangement for visual balance and stability.
- Refresh water periodically and rearrange stems as needed for freshness.
A tabletop mosaic tray with earthy appeal

A tray topped with a cork mosaic quickly became my favorite spot for keys and sunglasses. The mosaic pieces catch pocket lint and crumbs rather than showcasing them, which was oddly pleasing.
The texture invites a hand to rest and sort through small objects, and the rim frames the pattern like a tiny landscape. Toasted notes of cork harmonize with brass or ceramic objects placed on top, and the irregularities give the tray a relaxed, handmade identity.
It makes everyday clearing feel deliberate and calm, rather than rushed.
Steps
- Choose a shallow tray and plan a cork mosaic layout across the base.
- Cut corks into tiles of consistent thickness for an even surface.
- Adhere the cork tiles to the tray base, fitting pieces tightly together.
- Allow the adhesive to set fully before handling the tray.
- Optionally apply a thin protective finish to the mosaic surface for durability.
A trio of placemats with organic cork patterns
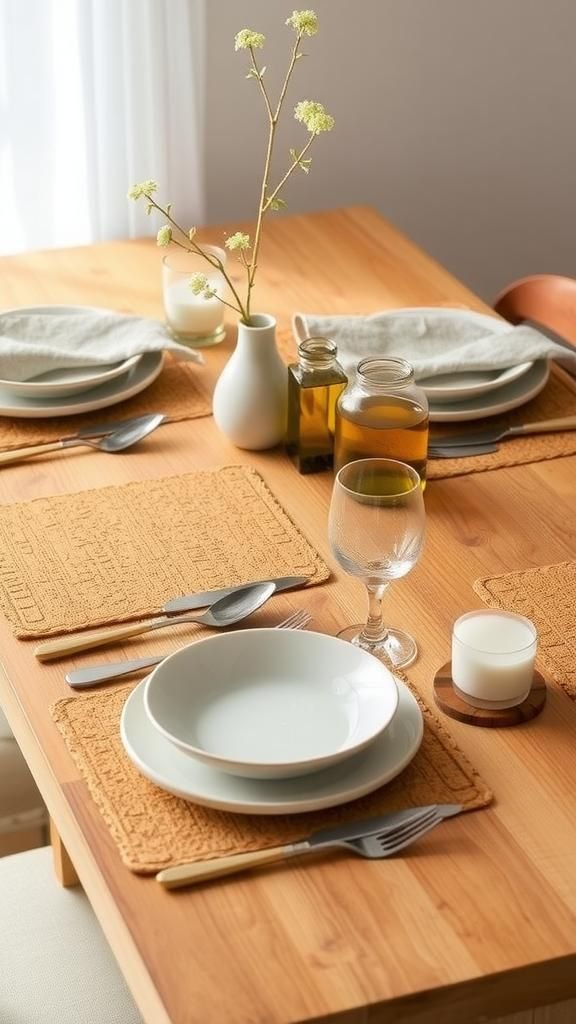
Placemats made from clustered corks gave the dining table an understated, earthy rhythm. When plates landed on them, the slight give and muted sound softened the moment.
The varied cork shades created an organic stripe that felt like a conversation starter rather than a showpiece. They carried faint hints of vineyard memories without shouting, and felt comfortable under cold plates or steaming bowls.
Cleaning was simple since crumbs sat visibly on the surface, and the placemats seemed to steady the whole setting with a quiet, grounded presence.
Steps
- Arrange corks into placemat-sized rectangles on a stable backing.
- Trim cork heights to achieve a flat dining surface across the placemat.
- Secure corks to the backing with adhesive and ensure edges are even.
- Allow the placemats to cure until fully bonded and dry.
- Wipe gently after meals and store flat when not in use.
Handmade napkin rings with cork charm

Those little cork napkin rings brought an unexpected smile when I set a casual dinner for friends. They have a lightness that feels playful, and the slight roughness of the cork contrasts nicely with smooth linen.
The rings carry subtle imprint marks where corks met barrels, which made each one feel like it had a small backstory. Paired with simple tableware, they read as thoughtful without fuss.
Passing them around sparked small compliments, and folding napkins into loops felt like a small, convivial ritual that matched the relaxed evening mood.
Steps
- Slice corks into thin discs or rings of uniform thickness.
- Hollow the center of each disc if needed to form a ring shape.
- Smooth edges with sandpaper for a comfortable napkin fit.
- Decorate the outer face with paint, ribbon, or a natural accent.
- Place napkins through the rings and arrange at each setting.
Personalized drawer knobs with cork tops

Replacing plain knobs with cork-topped pulls transformed an old dresser into something softer to touch. The cork caps offer a warm landing for palms, and the porous surface contrasts with painted wood in a pleasing way.
I liked the small noise reduction when drawers closed; the cork dampened the bustle. Each knob carries tiny differences in pattern and tone, which made the piece feel curated rather than mass produced.
Opening the top drawer became a small tactile pleasure, and friends often reached out to feel the texture before anything else.
Steps
- Select knob hardware compatible with drawer thickness and thread length.
- Cut cork slices to slightly larger diameter than the knob face for a snug cap.
- Adhere cork caps to the knob faces and press to ensure contact.
- Let the adhesive set completely before screwing knobs into drawers.
- Tighten hardware securely and test drawer movement for smooth operation.
A tiny cork keychain and bag charm
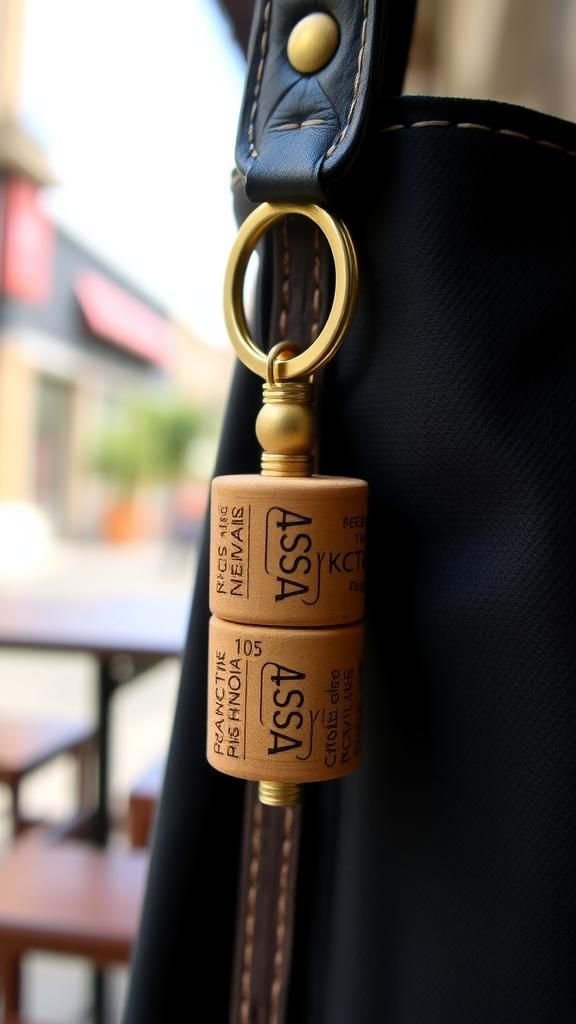
A cork keychain hung on my bag and quickly became the easiest thing to grab in a hurry. It floated lightly, barely adding weight, and the warm hue contrasted nicely with leather and metal.
I liked how the cork softened the jangling of keys, muffling clinks into a subdued shuffle. The charm looked like a keepsake rather than a gadget, and it soaked up small scuffs in an almost friendly way.
It was one of those small, portable comforts that made leaving the house feel less hurried and more pleasant.
Steps
- Drill a small hole through a cork along its length for threading hardware.
- Insert a keyring or chain through the hole and secure with a split ring.
- Add beads or tassels if desired for extra personality.
- Trim any excess hardware and check connections for strength.
- Attach keys or clip the charm to a bag for daily use.
Charming plant markers for indoor pots
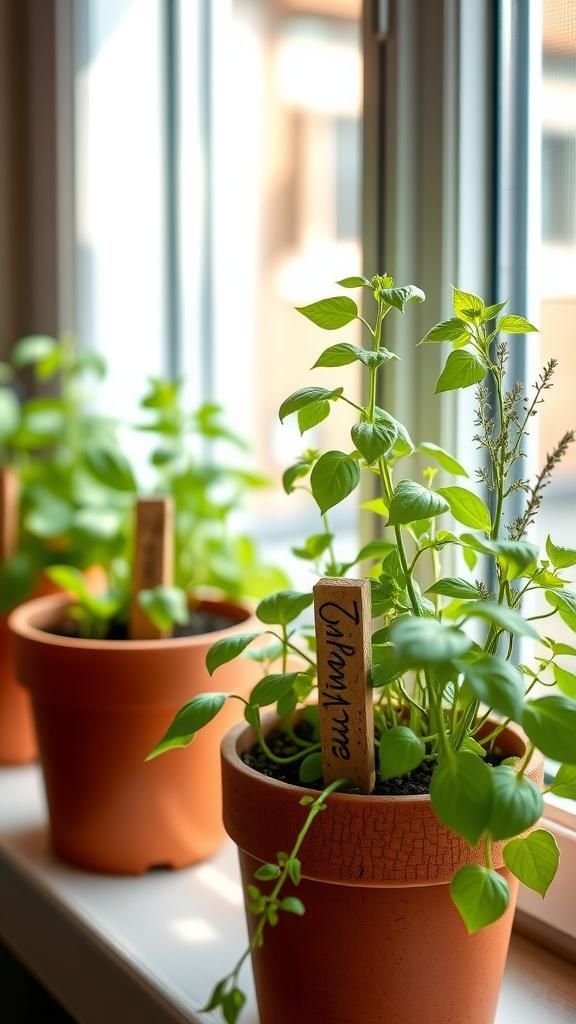
Tucking cork markers into herb pots brought a small gardener’s joy to my windowsill. The cork tops peek above soil with humble presence, and chalked labels faded into charming patina over time.
The texture looked at home among leaves, and the lightness of cork meant markers didn’t tip fragile seedlings. On breezy mornings they smelled faintly of vineyard afternoons, which made watering feel a little more poetic.
Each plant gained a tiny identity that was both functional and decorative, turning a row of pots into a thoughtful, textured display.
Steps
- Slice corks lengthwise to create flat surfaces for labeling.
- Write plant names on the flat face with a permanent marker or paint pen.
- Attach the labeled cork slice to a short wooden stake or skewer.
- Insert the marker gently into the potting mix near the plant.
- Replace or refresh labels as plant names change or fade.
A geometric cork wall art panel

I arranged cork pieces into a geometric panel and suddenly a blank wall had a personality. The patterns play with shadow and depth; angled grains and staggered heights created small reliefs that shifted as light moved through the day.
It reads like a neutral sculpture, tactile yet calm, and invites quiet inspection rather than loud attention. The panel added a grounded, craft-forward element to the room, balancing glossy prints and metallic frames.
It felt like a memory of slow afternoons, hand-arranged and left to sit with the wall’s daily light.
Steps
- Plan a geometric pattern and transfer the layout onto a backing board.
- Cut corks to varying thicknesses to create dimensional contrast.
- Adhere cork pieces onto the board following the planned pattern.
- Trim edges and sand any protruding bits for a clean outline.
- Mount the finished panel securely on the wall and admire the relief.
A pendant lampshade softening overhead light

Replacing a plain shade with a cork-covered pendant softened the overhead glow and made evenings feel less clinical. The cork surface scattered light into tiny shadows, adding depth and a cozy atmosphere to the dining nook.
Up close, the grain creates an intimate detail that feels handmade against the ceiling’s plainness. The lamp cast a warmer color cast across the table, which made dinners feel more connected and relaxed.
It became the kind of fixture that drew compliments for its texture rather than its flashiness.
Steps
- Select a pendant shade with a smooth exterior suitable for covering.
- Cut corks into thin slices to create a flexible covering surface.
- Adhere the cork slices to the shade starting at the top and working downward in overlapping rows.
- Trim excess cork at the final edge and smooth any irregularities.
- Reinstall the shade and ensure the bulb is compatible with the new cover.
Resin-topped coasters with embedded cork mosaics
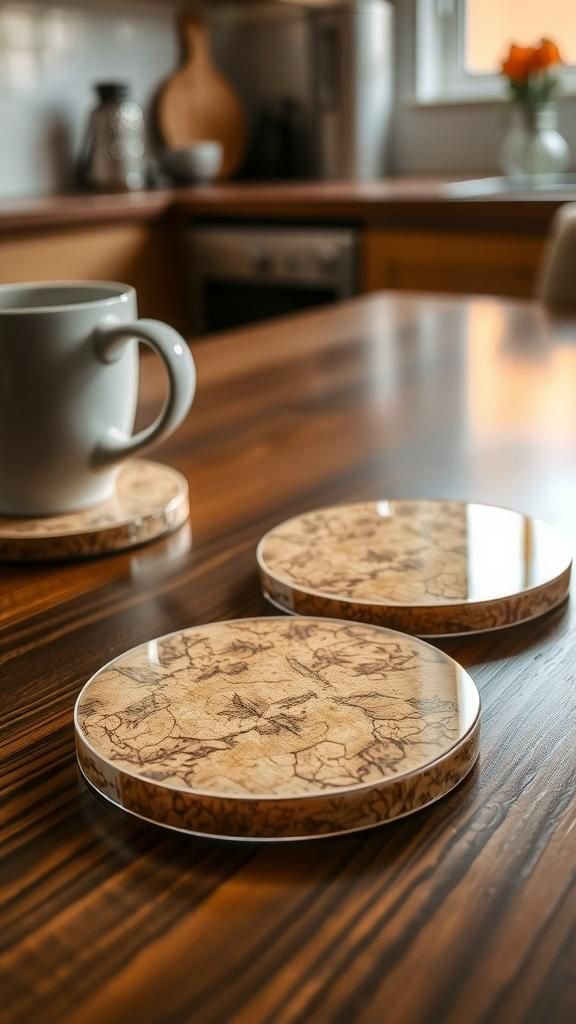
Combining cork mosaics with glossy resin created coasters that felt both rustic and polished. The resin smoothed the cork’s surface into a cool, glassy plane while still letting the warm tones show through.
Fingers liked the contrast between the visual depth and the smooth finish; the pieces looked like captured fragments of vineyard memory. Light played over the resin, giving the coasters an elegant sheen that contrasted with the casual tableware they lived with.
They were easy to pass around and held up well under cold glasses and afternoon condensation.
Steps
- Arrange small cork pieces into a tight mosaic within coaster molds or frames.
- Prepare clear casting resin according to manufacturer directions and mix carefully.
- Pour the resin slowly over the cork mosaic to eliminate bubbles and cover evenly.
- Allow the resin to cure on a level surface until fully hardened.
- Demold and sand edges if necessary for a smooth finish.
A monthly cork calendar for the wall

I made a simple monthly calendar from corks and it became an analog ritual: swapping dates each month felt oddly satisfying. Each cork slot held a small card with a day number, and rearranging them at month end carried a handheld, tactile pleasure missing from digital routines.
The board had a casual grid of warm tones that read as decorative even when empty. It hung by the pantry and caught quick glances during coffee runs, helping to plan with a soft, domestic charm rather than urgency.
Steps
- Create a grid on a corkboard backing with slots sized to hold cork segments or cards.
- Prepare cork pieces marked with day numbers or attach small date cards.
- Insert the numbered corks or cards into the grid for the current month.
- Adjust layout for shorter months by removing excess date pieces.
- Update the board monthly and hang at a convenient eye level.
A set of seasonal holiday cork ornaments

Turning corks into ornaments gave the tree a humble, handcrafted note that felt emotional and quiet. Each ornament carried a slightly different texture and a shadow of the bottle it once sealed.
I liked the gentle weight they added to branches, and the way lights glinted on rough cork faces created a warm, rustic sparkle. They sat harmoniously among glass baubles and wooden shapes, offering a lived-in contrast.
Pulling them from the box each year felt like unfolding an old, fragrant memory of dinners and long conversations.
Steps
- Slice or shape corks into festive forms such as discs, stars, or small hearts.
- Drill a tiny hole near the top for threading hanging string or ribbon.
- Decorate each ornament with paint, metallic accents, or small embellishments.
- Thread string through the hole and knot securely for hanging.
- Hang ornaments carefully on the tree branches and store them in tissue between seasons.
A cork garland that softens a mantel

Draping a cork garland across the mantel introduced a gentle, grounded line that tied the room together. The chain of small cork slices bobbed slightly with air movement and added an earthy rhythm above framed photos.
Light brushed across each piece differently, making a low-contrast shimmer that felt understated and friendly. It balanced glossy candlesticks and ceramic vases with a tactile, handmade thread.
When guests arrived, the garland was an easy conversation starter; people liked to point out the little variations in tone and texture along its length.
Steps
- Cut corks into uniform slices for a consistent garland appearance.
- Drill small holes near slice centers and thread them onto a strong twine.
- Knot between slices to space them evenly and prevent sliding.
- Add decorative elements like beads or dried sprigs if desired.
- Drape the garland across the mantel and secure ends as needed.