I always get a little giddy when friends start talking about snacks and team colors — that moment before kickoff feels like a chance to play with paper, paint, and little lights. Over the years I collected easy little projects that make a living room feel like a mini stadium without a lot of fuss, and game day football party decor crafts became my favorite way to set the mood.
There’s a simple pleasure in draping a handmade banner or arranging themed jars on the table, watching the colors and textures pull everything together.
These game day football party decor crafts are cheerful, tactile, and often made from things that were already on hand, which always makes the whole scene more satisfying.
Handmade pennant garlands in team colors

I remember the first pennant garland I made for a chilly afternoon game; the felt had a soft, woolly scent and the colors looked richer under warm light. The pennants moved just enough when people walked past, creating a gentle flutter that felt playful.
Each triangle carried a different texture, some fuzzy and some crisp, and the string held tiny knots that caught the eye. Guests kept running their fingers along the fringe of one pennant, smiling at how the simple shapes turned the room into something cheerier and more intimate.
Steps
- Gather felt sheets in chosen colors and a long length of twine or ribbon.
- Trace triangle shapes onto felt and cut them out following the traced lines.
- Attach triangles to the twine by folding the top edge over and securing with hot glue or fabric glue.
- Space the pennants along the twine until the garland reaches the desired length.
- Hang the garland across a mantle, doorway, or wall using removable hooks.
Mason jar utensil caddies with field markings
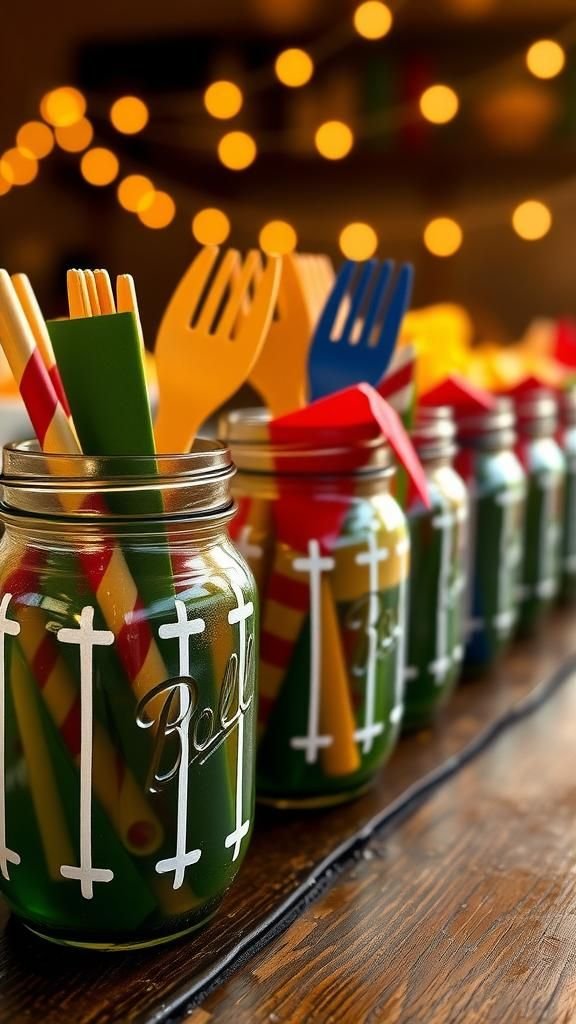
A row of mason jars lined up on the table made the whole snack spread feel organized and bright. The painted yard lines on glass had a slightly glossy shine and caught the light in a satisfying way, while the metal lids offered a cool contrast under warm fingertips.
I liked how the jars reflected the room, little echoes of color from napkins and streamers. They made forks and napkins easy to grab and somehow turned ordinary utensils into part of the decor, which prompted a surprising number of compliments.
Steps
- Clean mason jars thoroughly and remove any labels or residue from the glass.
- Mask off sections with painter’s tape to form yard lines and paint the exposed areas with glass paint.
- Allow the paint to dry fully and remove tape gently.
- Fill jars with utensils, straws, or napkins and arrange them along the table.
- Optionally tie small team-color ribbons around the jar necks for added flair.
Table runner that looks like a miniature field

The table runner stretched across the buffet like a strip of green turf, and the painted white yard markers felt satisfyingly crisp against the matte green. There was a faint smell of acrylic paint that lingered for a few hours; it brought back memories of craft days with friends.
People kept leaning in to trace the yard lines with their fingertips, and the runner became a natural way to divide snacks into zones. It was the sort of small detail that turned casual grazing into a themed experience without being overbearing.
Steps
- Choose a length of green fabric or vinyl that fits the table and lay it flat on a protected surface.
- Measure and mark yard line positions lightly with a pencil or chalk.
- Paint yard lines and numbers with white fabric paint or acrylic paint suitable for the fabric.
- Allow paint to dry completely before moving the runner and smoothing out any wrinkles.
- Place the runner on the table and arrange dishes along its edges.
Mini helmet centerpieces for snack tables

A cluster of small helmet replicas sat in the center of the snack table and drew people in with their glossy finishes and tiny decals. The curve of each helmet caught overhead light, producing highlights that made the colors pop.
I noticed how kids loved touching the smooth shells while adults appreciated the nostalgic feel of miniature gear. The helmets gave the spread a focal point, anchoring plates and napkins around them and lending the whole setup a playful, game-ready personality that felt both celebratory and familiar.
Steps
- Collect miniature helmet replicas or small plastic bowls with similar rounded shapes.
- Paint or decorate each helmet in chosen team colors and add small decals or stickers for logos.
- Apply a clear sealant to protect the paint and allow it to dry.
- Arrange the helmets on a low pedestal or tray in the center of the snack table.
- Surround the centerpiece with small bowls or themed accents to create a cohesive display.
Goal-line candle votives with soft glow

The little glass votives, each painted with a tiny stretch of white line, threw a warm, intimate glow across the table. Melted wax pooled smoothly inside, and the scent of vanilla from the candles mingled with the aroma of chips and dip.
I liked how the tiny lights created a cozy pocket of brightness that contrasted with the bustle of a living room full of guests. They felt like miniature stadium lights, steady and calming, turning ordinary moments into ones that lingered a little longer in conversation.
Steps
- Select small glass votives and clean them thoroughly to ensure paint adhesion.
- Paint thin white lines and small numbers onto the outside of each votive with glass paint.
- Allow paint to dry completely before placing tea lights or small candles inside.
- Arrange votives along the table or mantel to create a soft, even glow.
- Light candles shortly before guests arrive and monitor them while lit.
Snack stadium built from boxes and trays
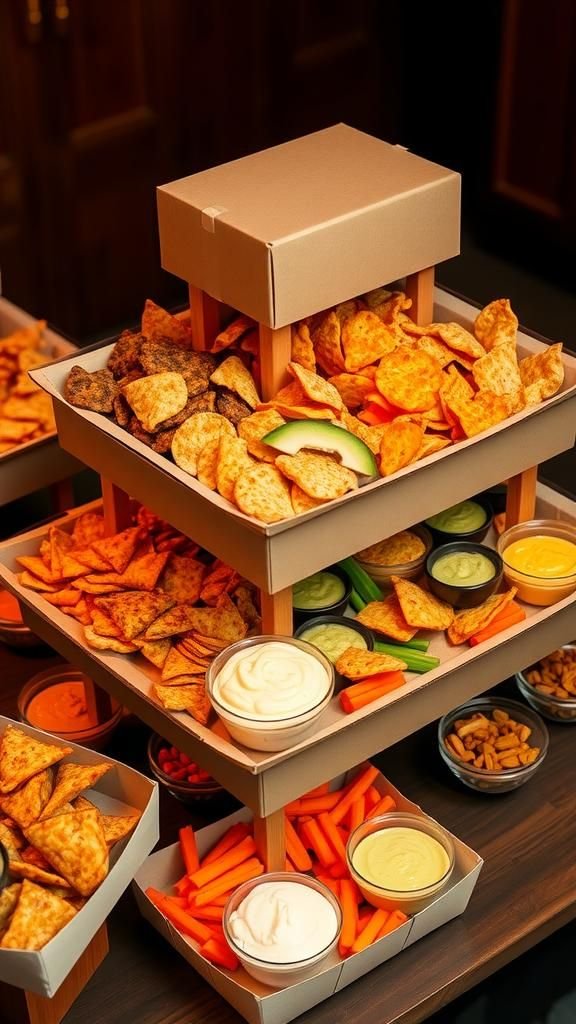
The snack stadium felt delightfully over-the-top, a layered structure of trays and boxes that made the chips, veggies, and dips feel like playing on a field. The cardboard tiers had a slightly rough edge where tape met paper, and the assortment of textures — crunchy chips, glossy olives, creamy dips — made the display feel abundant without being fussy.
Guests circled it like they were exploring different stands at a fair, and the scale of the arrangement encouraged chatter and playful comparisons about what each section offered.
Steps
- Gather sturdy boxes, trays, and serving platters in a range of sizes for tiered levels.
- Cover boxes with colored paper or fabric to match team colors and secure with tape.
- Arrange the tiers from largest at the bottom to smallest on top to form a stadium shape.
- Fill each level with snack assortments, balancing colors and textures for visual interest.
- Add decorative flags or small signs to label each snack section.
Tissue pom-poms in team hues, soft and airy
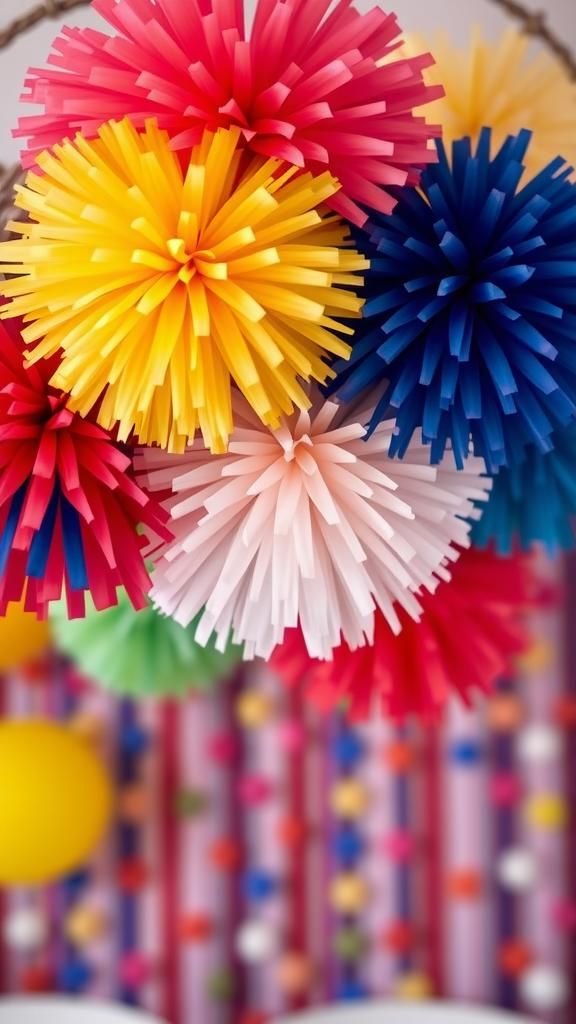
Strings of tissue pom-poms floated above the party like clouds in team colors, their paper layers whispering softly when a breeze moved them. The texture was featherlight and the edges sometimes curled in a way that felt delightfully imperfect.
I enjoyed how the colors read differently under natural light compared with incandescent bulbs; afternoon sun made them glow while evening lights deepened the tones. People kept looking up and smiling, and a stray pom-pom landing on a chair sparked a small round of laughter that felt very much part of the atmosphere.
Steps
- Stack tissue paper sheets in chosen colors and cut them into squares of the desired size.
- Accordion-fold the stack, secure the center with floral wire or string, and trim the ends into rounded or pointed shapes.
- Carefully separate the layers of tissue paper to form fluffy pom-poms, working from the top down.
- Attach a length of string or ribbon to each pom-pom for hanging.
- Suspend the pom-poms at varying heights above the party area for a floating effect.
Cupcake flag toppers with playful logos

Tiny flags perched atop cupcakes like miniature banners, adding a playful note to dessert. The paper fluttered a little whenever someone reached in for a treat, and the toothpick sticks had a familiar smoothness against sticky frosting.
I remember how a child inspected the little logos closely before choosing a cupcake, the simple act of picking a favorite making the treat feel personalized. The flags gave each bite a bit of theater, and the floral patterns of the frosting contrasted nicely with the sharp little shapes of the flags.
Steps
- Cut small rectangles or triangles from colored cardstock and prepare team-themed stickers or tiny printed logos.
- Fold the cardstock over toothpicks or small wooden skewers and secure with glue or tape.
- Insert the flags gently into frosted cupcakes shortly before serving.
- Arrange cupcakes on a tiered stand or platter for visual impact.
- Keep the cupcakes covered until guests are ready to enjoy them.
Chalkboard playbook sign with casual charm
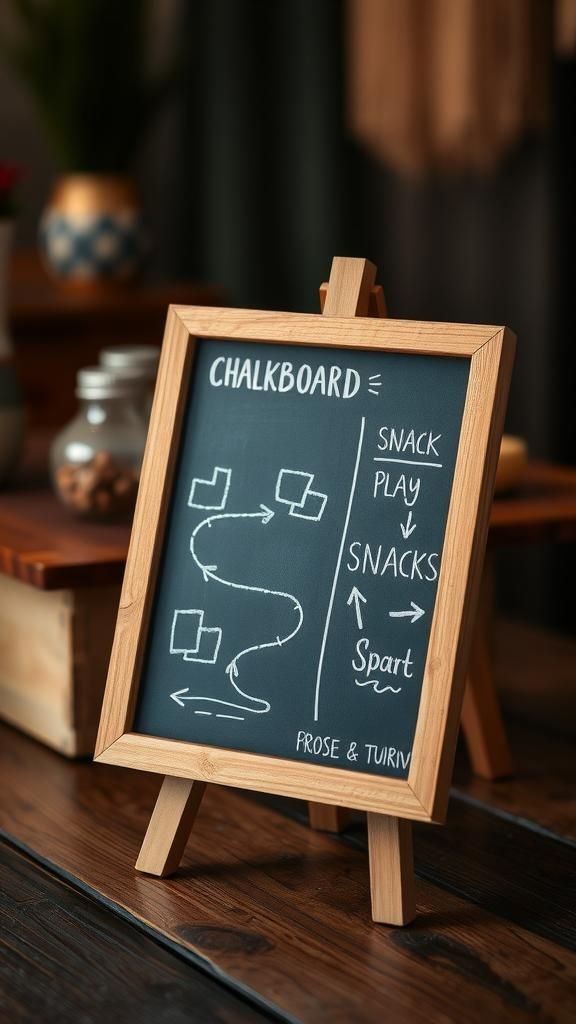
The chalkboard playbook sign had a hand-drawn energy that felt lively and spontaneous, the white strokes showing slight variation where the chalk pressed harder. It added a casual focal point to a corner table, inviting smiles as guests read the playful plays and snack names.
There was a faint chalk dust scent in the air when someone brushed their sleeve near it, and the matte black surface absorbed light in a comforting way. The sign made the space feel curated yet relaxed, like someone had left a friendly note for everyone to enjoy.
Steps
- Procure a chalkboard or framed chalkboard panel and choose a location where it will be visible.
- Sketch a simple layout with light chalk, including headings, play names, or snack descriptions.
- Trace over the sketch with firmer chalk or chalk markers for clearer lines.
- Add small decorative doodles like Xs, Os, or arrows to mimic play diagrams.
- Position the sign near the snack table or entrance where guests will notice it.
Bottle cap magnets with tiny team logos
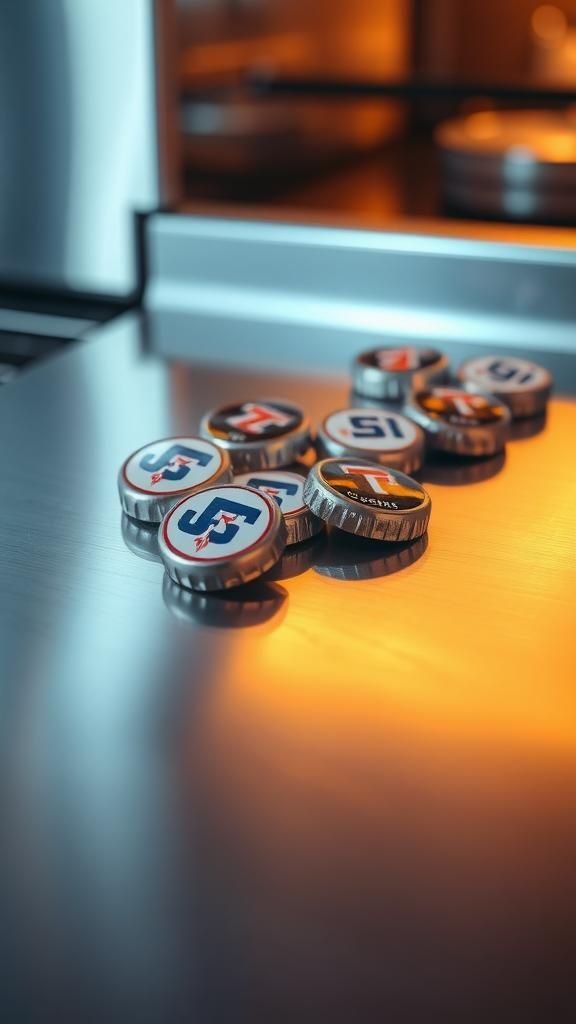
A collection of bottle cap magnets sat on the fridge like miniature medals, their crimped edges catching light and creating tiny highlights. The small printed logos inside each cap had a glossy finish that made the colors pop against the metal.
They felt satisfyingly weighty in the palm and often sparked conversation about past games and favorite players. Kids clustered around the fridge to rearrange them into patterns, and adults admired how a humble kitchen item could become a subtle nod to team spirit without taking up much space.
Steps
- Collect metal bottle caps and clean them thoroughly to remove residue.
- Print small circular logos or designs and cut them to fit inside the caps.
- Apply a thin layer of glue or resin to secure the printed circles inside each cap and add a glossy finish.
- Attach small round magnets to the back of the caps using strong adhesive.
- Place the finished magnets on a metal surface like a fridge or magnetic board.
Photo backdrop with painted yard-line grid
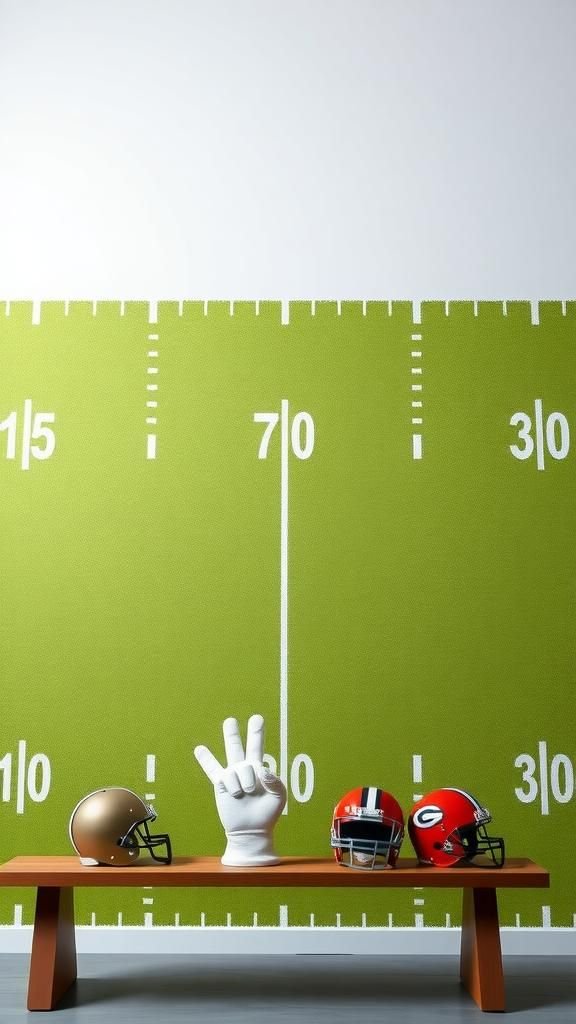
Guests kept lining up in front of the painted yard-line grid to grab quick photos, and the backdrop gave every snapshot an energetic, on-field feel. The paint strokes had a handcrafted texture and the green field reflected light differently depending on the angle, creating a lively visual effect.
I noticed how the simple white lines framed faces naturally and made group shots feel cohesive. The backdrop added a playful sense of occasion, turning casual selfies into small mementos that people later texted to friends with playful captions.
Steps
- Choose a sturdy backdrop surface such as a large sheet of plywood, foam board, or heavy fabric.
- Paint the surface green and allow it to dry completely before marking yard lines.
- Measure and paint white yard lines and numbers to create a grid pattern.
- Mount the backdrop securely against a wall or stand and add props nearby for photo fun.
- Illuminate the area with even lighting to ensure clear photographs.
Classic foam finger props for cheering crowds
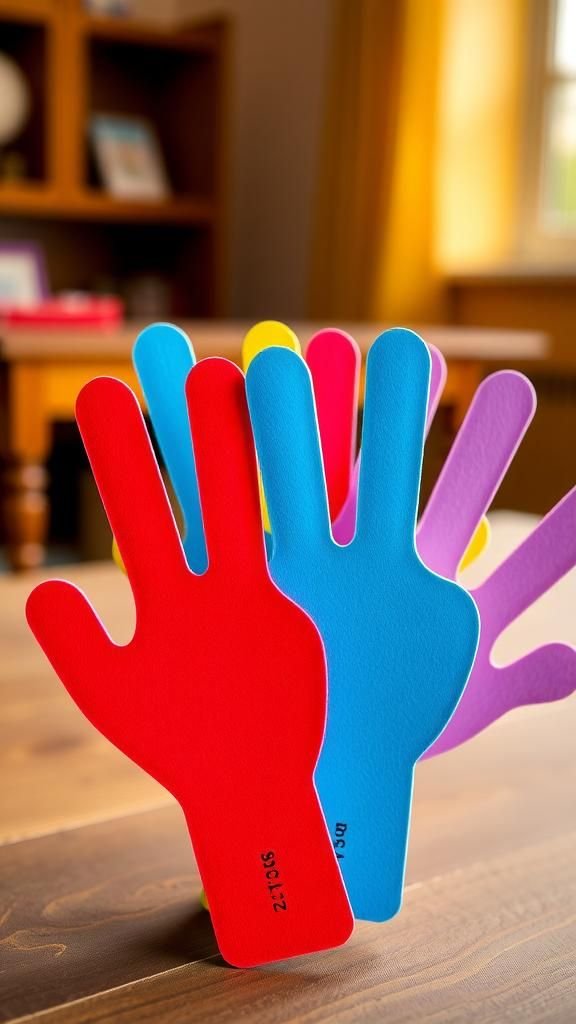
The foam fingers brought a burst of nostalgia whenever someone slipped one on; the soft foam had a slightly spongy give and the printed lines had a friendly, slightly retro look. Each color seemed to boost enthusiasm, and the oversized shape made people exaggerate their gestures in a playful way.
I watched a quiet cousin suddenly pound a table with glee, foam finger held high, and the room seemed to lift a notch in energy. They were light enough to wave for long stretches, turning cheers into shared, tactile moments.
Steps
- Trace a foam finger template onto craft foam sheets and trace around the shape with a marker.
- Cut out the foam finger shapes carefully using a sharp craft knife or scissors.
- Decorate each foam finger with painted numbers, stripes, or printed team logos glued on.
- Allow any paint or glue to dry fully before handling.
- Distribute foam fingers to guests for cheering during the game.
Upcycled jersey bunting for a thrifted feel
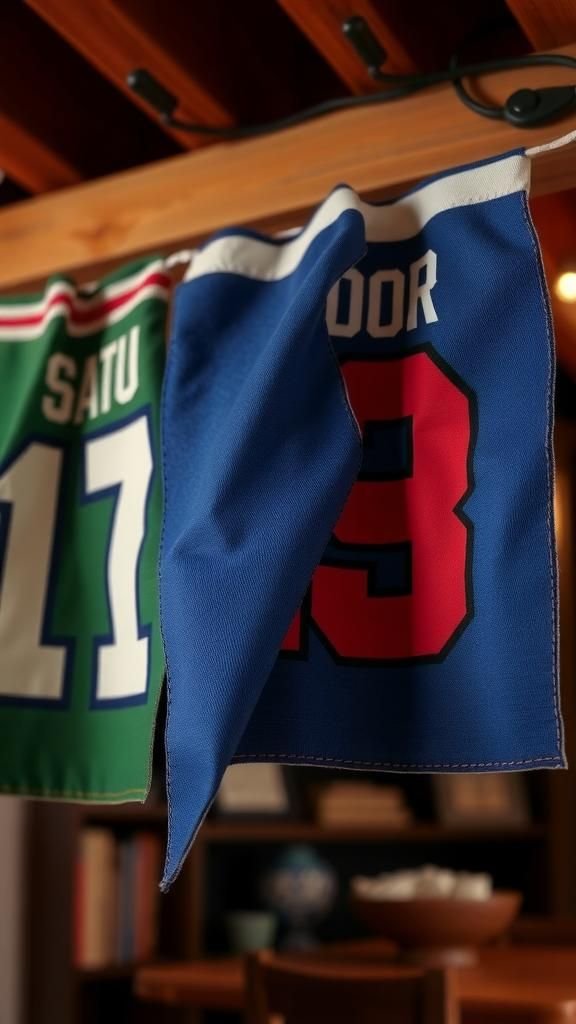
I stitched together reclaimed jersey fabric and the result had a lived-in softness that felt cozy and warm. The faded numbers and threads gave each pennant a story, and the smell of cotton carried a faint reminder of laundry room afternoons.
The bunting looked at home draped over a doorway, and the mix of fonts and textures created a layered, nostalgic vibe. People paused to read the old numbers aloud and share quick memories, which turned the decoration into a small conversation starter beyond just color and pattern.
Steps
- Collect old sports jerseys or thrifted fabric featuring team colors and logos.
- Cut the fabric into uniform pennant shapes and hem the top edges if desired.
- Attach the pennants to a length of ribbon or bias tape by sewing or using fabric adhesive.
- Space the pennants evenly and secure any loose threads.
- Hang the bunting across an entryway or along a wall for display.
Stadium seating chart board for playful organization
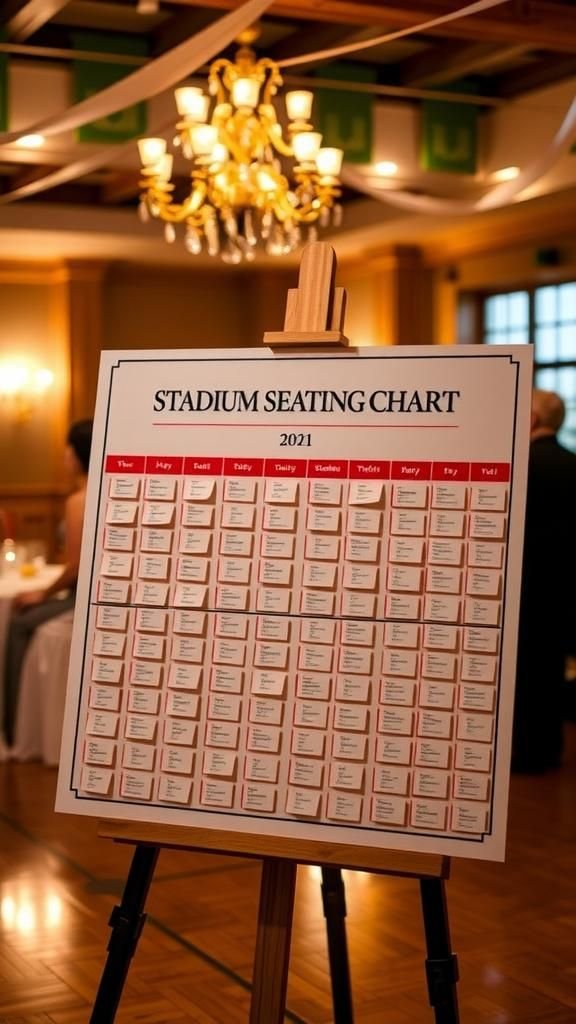
The seating chart board mimicked a stadium layout, and guests enjoyed finding their ‘seats’ as if choosing sections at a real game. The board had a tactile quality where stickers and labels overlapped, creating subtle shadows and depth.
I liked how the arrangement turned a practical detail into part of the theme, with guests pointing and laughing at clever seat names. It reduced confusion while adding a playful ritual to the party flow, transforming the simple act of sitting down into part of the event’s personality.
Steps
- Design a simple stadium layout on poster board or foam core, dividing it into labeled sections.
- Create seat labels or name cards on cardstock and decorate them in team colors.
- Attach the labels to the board using removable adhesive or magnetic strips.
- Position the seating chart near the entrance so guests can easily find their spots.
- Make small adjustments as guests arrive to keep the board accurate and welcoming.
Nacho bar signs with playful names and flair

Small signs labeled the nacho bar options with whimsical names that made people grin while selecting toppings. The handwritten lettering had little flourishes and the chip crumbs on the counter contrasted with the clean edges of the signs.
The aroma of melted cheese rose in gentle waves, and the sign colors mirrored the toppings below, creating a cohesive little corner on the counter. Guests seemed to linger, comparing combinations, and the signs added personality that invited a few extra laughs and a touch of friendly competition.
Steps
- Create small tabletop signs on cardstock or chalkboard material and write playful names for each topping or station.
- Place the signs in holders or prop them on small easels near the nacho bar.
- Arrange toppings in bowls and label each one clearly for easy selection.
- Keep serving utensils nearby and replenish toppings as needed.
- Wipe down any spilled crumbs periodically to maintain a neat presentation.
Tailgate cooler wrap for festive beverages
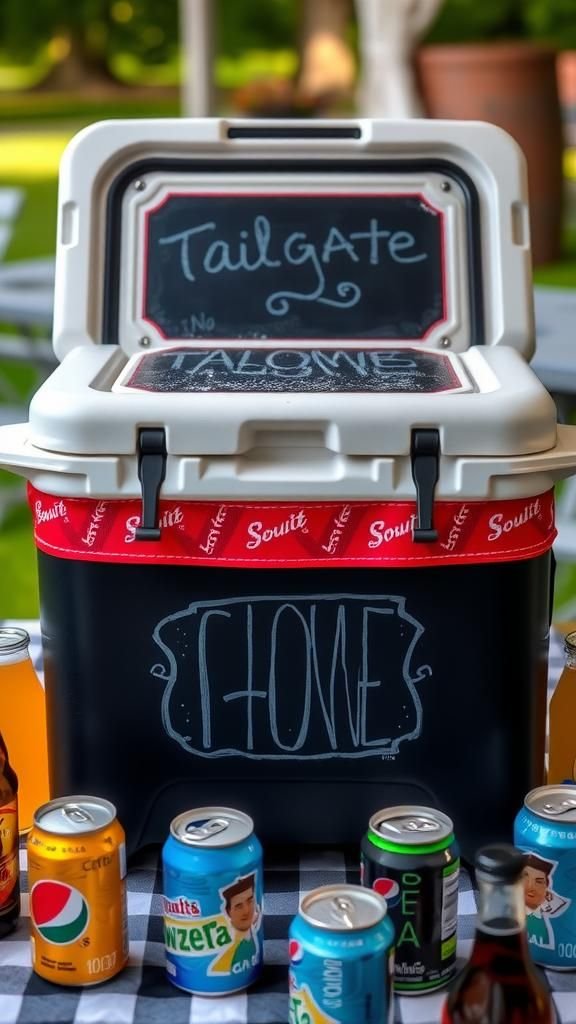
Wrapping a cooler in team-patterned fabric made the drinks area feel intentional and festive rather than purely functional. The cooler’s plastic texture contrasted with the soft fabric, and condensation beads formed and then rolled down the sides, leaving faint dark trails.
I liked how it turned a bulky item into part of the display, especially when paired with a few coasters and a chalk-tag for drink choices. The visual continuity of color across the party space tied the beverage station to the wider theme in a friendly, low-effort way.
Steps
- Measure the cooler’s height and circumference to determine fabric wrap dimensions.
- Cut fabric or adhesive vinyl to size and secure it around the cooler with tape or removable adhesive.
- Add decorative accents like ribbon, team stickers, or a chalkboard label for drink options.
- Place ice and beverages inside the cooler and position it in a convenient spot.
- Monitor ice levels and refill as needed to keep drinks chilled.
Referee stripe napkin rings with crisp lines
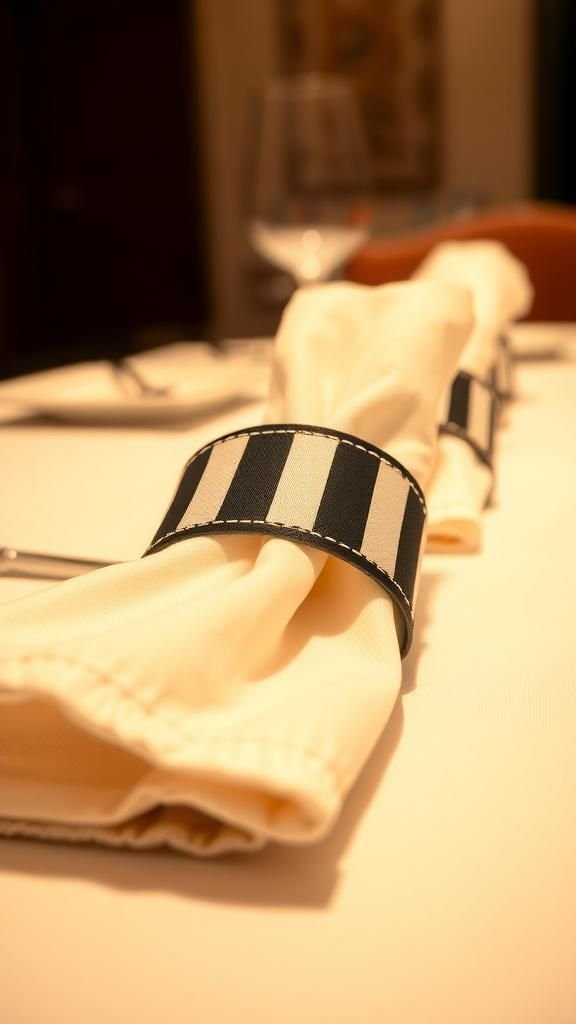
The napkin rings echoed referee stripes in a way that felt quietly clever on the dining table. The stark black and white contrast added a crisp visual punctuation to the softer textures of cloth napkins.
I enjoyed the subtle humor when someone picked up a napkin and joked about getting an instant ‘referee pass.’ The rings had a neat weight to them and carried a faint scent of fresh ribbon or paper. They made each place setting feel intentionally arranged without being overly formal, which kept the mood relaxed.
Steps
- Cut strips of black and white cardstock or ribbon to form the bands for the napkin rings.
- Layer the stripes to create the referee pattern and secure them together with glue or tape.
- Form each strip into a ring sized to fit around folded napkins and secure the ends.
- Slide the napkin rings onto cloth or paper napkins and place at each table setting.
- Arrange additional table decor to complement the crisp striped look.
Hanging ball lanterns that echo football shapes

The hanging lanterns evoked the rounded shape of a football in a subtle, decorative way; when lit, they cast soft halos of light that warmed the room. The paper surface showed faint seams and overlapped layers that produced interesting shadow lines.
I liked how the lantern glow softened the edges of the party, creating pockets of coziness amid the buzz. Guests often paused beneath them, looking up, as if the lanterns were small sky lanterns celebrating the game.
The effect felt both festive and gentle, perfect for evening gatherings.
Steps
- Select paper lanterns in sizes and colors that complement the party theme and assemble them according to package instructions.
- Insert LED candles or string lights inside each lantern for safe illumination.
- Suspend the lanterns from the ceiling or overhead structure at varying heights using clear fishing line or ribbon.
- Arrange lanterns to create clusters over dining or seating areas for visual impact.
- Turn on lights shortly before guests arrive and adjust positions if needed.
Team-color tassel garland for dynamic movement

The tassel garland added a little kinetic energy as the fringes swayed whenever someone walked by. The crepe paper tassels had a papery rustle that felt playful, and the layered colors created a slight ombré effect when bunched closely together.
I appreciated how easy it was to change the rhythm of the room simply by placing the garland higher or lower; it either framed the space or became a soft border for the table. Guests enjoyed the tactile element, often brushing a hand along the tassels as they passed.
Steps
- Cut strips of crepe paper or tissue in chosen colors to create tassels.
- Roll and twist the strips, securing each tassel at the top with a small bit of string or tape.
- Attach the tassels along a length of twine or ribbon at even intervals.
- Hang the garland across walls, doorways, or above the serving table.
- Fluff the tassels gently to create fuller movement and texture.
Game-day napkin rings with little helmets
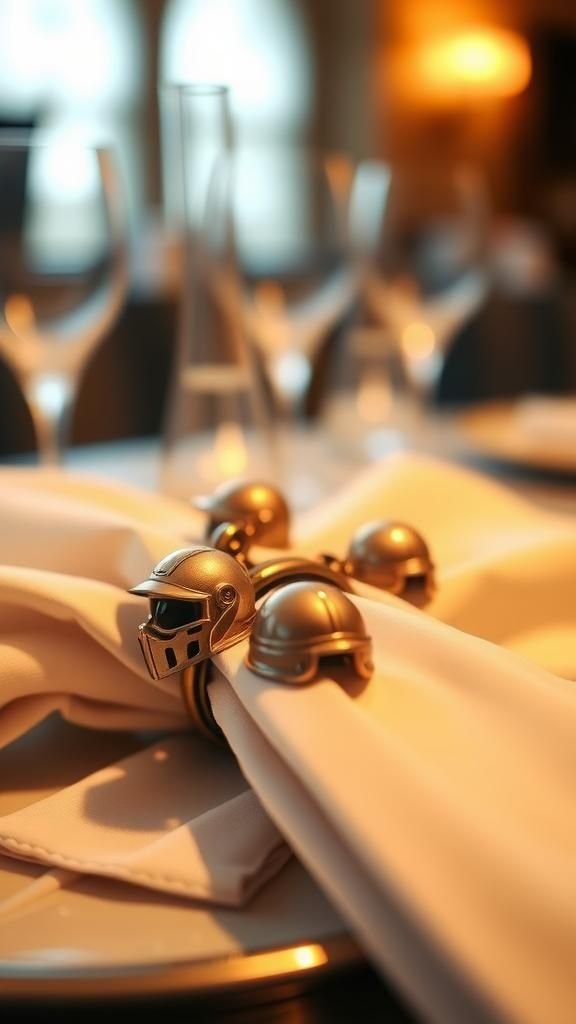
Tiny helmet charms on napkin rings added a whimsical touch that made place settings feel playful and themed. The little helmets had a smooth, glossy finish and caught the light in tiny glints that complemented the cutlery.
I liked the way guests lingered a beat longer over their plates to admire the small details, and how the rings tied into other helmet accents around the room. The overall impression was one of charm rather than excess, a reminder that small gestures can make a gathering feel thoughtfully arranged.
Steps
- Source small helmet charms or miniature plastic helmets suitable for attaching to rings.
- Prepare simple napkin rings from ribbon, cardstock, or pre-made rings and attach the charm securely.
- Slide the napkin rings onto folded napkins and place at each seat.
- Coordinate the napkin ring colors with other table accents for a cohesive look.
- Store assembled rings carefully for reuse at future gatherings.
Victory fringe banner with textured tassels
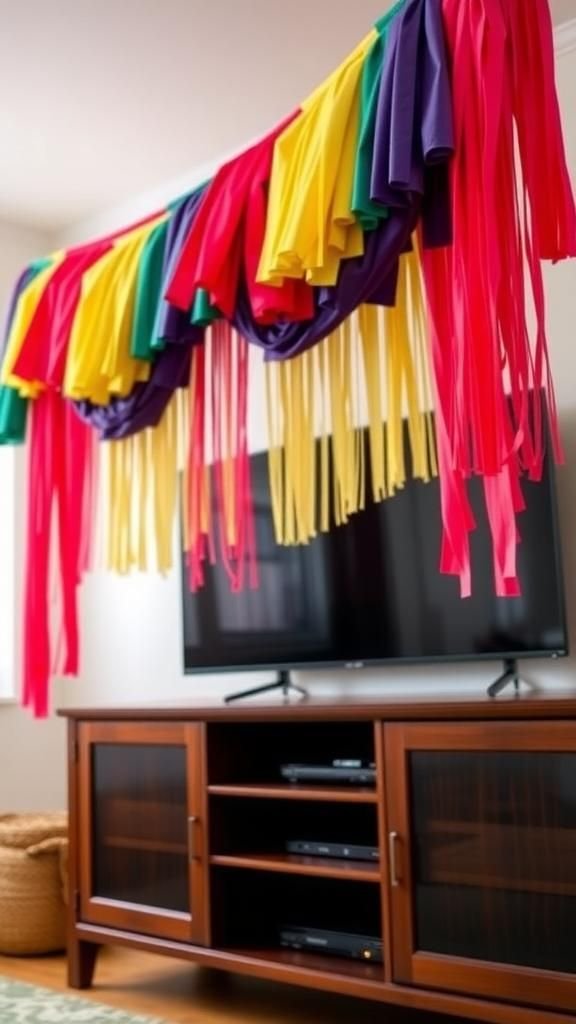
The victory fringe banner had a celebratory bounce that made the room feel ready for a win. The layers of tassels produced a pleasing rhythm, their ends brushing softly against one another.
The fringe made small sounds whenever someone walked beneath it, an easy, satisfying swish. I enjoyed how the banner framed the TV area, giving the viewing spot an almost ceremonial look that led to spontaneous high-fives and cheer-filled moments.
It was a small flourish that encouraged a sense of occasion without overwhelming the space.
Steps
- Cut strips of tissue or crepe paper in selected colors to form fringe tassels.
- Roll each strip and secure the top with a small knot or piece of tape to create individual tassels.
- Attach tassels along a length of ribbon or twine, spacing them evenly.
- Hang the fringe banner above the TV area or across a focal wall.
- Fluff the tassels to add volume and movement before guests arrive.