I have a small stash of wine corks that somehow multiplied after friendly dinners and backyard barbecues. Turning that pile into projects became a relaxed, tactile habit: a way to fiddle with texture and memory while a playlist hummed in the background.
DIY Wine Cork Crafts felt at first like a practical joke on thrift, then a quiet, satisfying ritual.
Over a few afternoons the corks became coasters, ornaments and tiny planters. DIY Wine Cork Crafts offered a steady stream of small wins and rustic charm, each finished piece carrying the warm, slightly woody scent of the cork and the faint thumbmarks of making.
Handmade round wine cork coasters with patterns
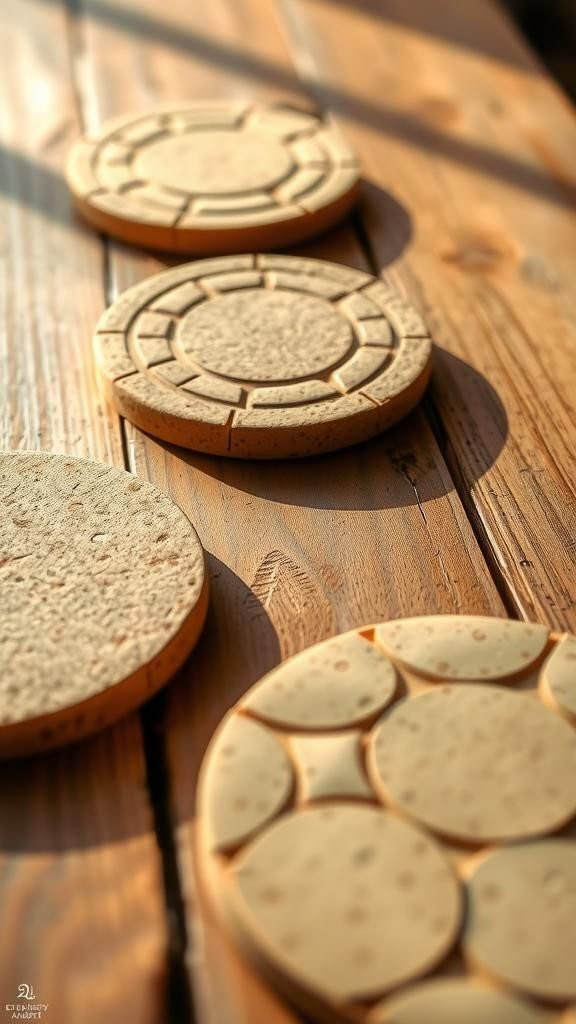
My first weekend project involved arranging cork slices into little rounds that could catch a mug and a memory. The feel of the cork under fingertips is slightly springy, warmly textured like a well-worn leather strap.
Colors range from pale beige to deeper caramel depending on age, and faint wine stains lend character without shouting. Sitting them on an oak table, the contrast between soft cork and hard grain felt comforting.
Each coaster seems to hold the faint echo of bottles opened nearby, and small imperfections make every piece feel personal.
Steps
- Corks are halved lengthwise to create flat surfaces for better stability.
- Halves are positioned into circular patterns on a soft backing to define the outline.
- Adhesive is applied to contact points to secure each cork to its neighbors and to the backing.
- Edges are smoothed with fine abrasive for a gentler hand feel and trimmed to shape.
A geometric trivet that brings warmth to tables
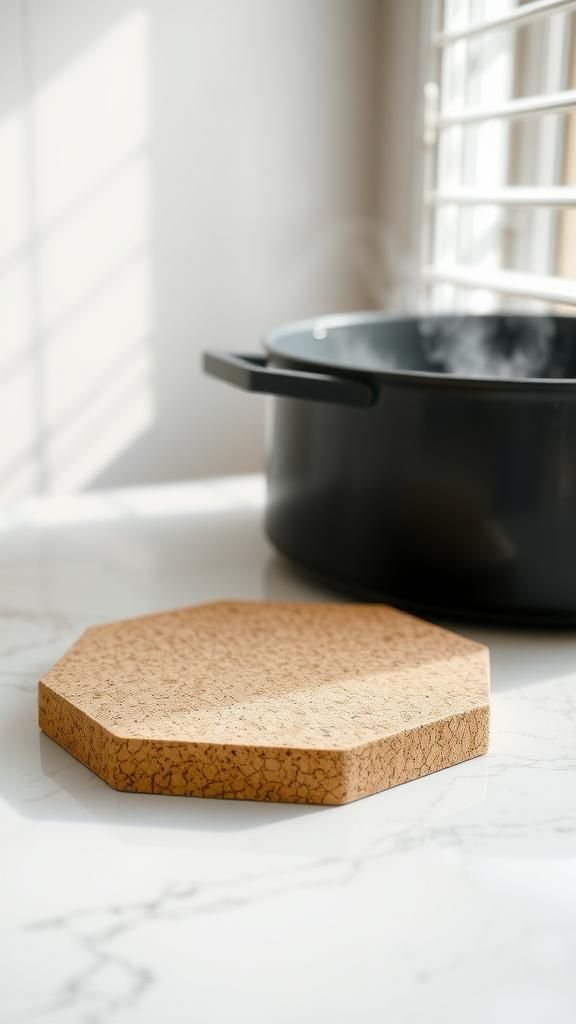
A trivet made from groups of corks arranged into a triangle or hexagon felt like building with tiny natural blocks. The surface is pleasantly warm to the touch, offering a forgiving cushion against hot pots.
When placed under a steaming pan, the contrast between cool ceramic and the muffled, springy cork made the kitchen feel calmer. The arrangement can be tight and compact or airy with gaps that let glimpses of the countertop show through.
Each arrangement carries a subtle scent of oak-aged evenings and casual conversation.
Steps
- Corks are selected and matched by height for a level surface.
- Clusters are laid out into a geometric pattern on a heat-resistant base to confirm spacing.
- A heat-tolerant adhesive is spread to anchor each cork at contact points.
- A final weight is applied while curing to ensure uniform bonding and a flat finished plane.
Pinboard crafted from an old frame and corks
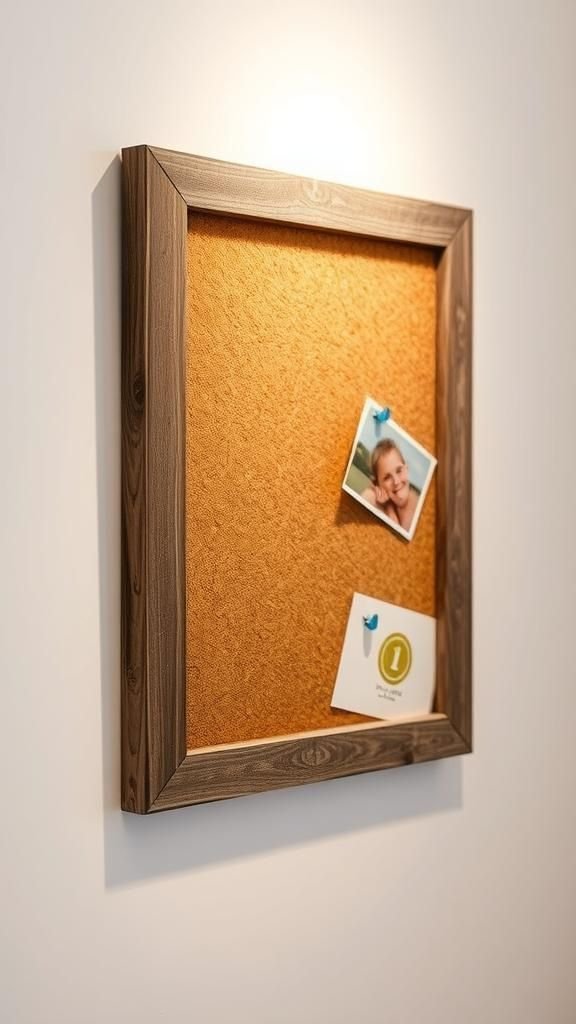
Turning a thrifted frame into a pinboard felt like giving both items fresh purpose. The surface takes tacks with a satisfying little resistance and a muted thunk, and the natural grain of the cork pairs well with brass tacks.
I liked sliding forgotten postcards into the corners and pressing ticket stubs into the soft surface. From a distance it reads as warm, handmade décor rather than a utilitarian bulletin board.
The edges of the frame carry a few dings that echo the imperfect charm of the corks themselves.
Steps
- A frame is prepared with a sturdy backing to receive cork pieces.
- Corks are arranged in a tight pattern across the backing to create a uniform pinning surface.
- Adhesive is applied to the backing and corks are pressed into place to form the board.
- Trimmed edges are checked and sealed with a narrow strip for a finished look.
Seasonal wreath woven from salvaged corks
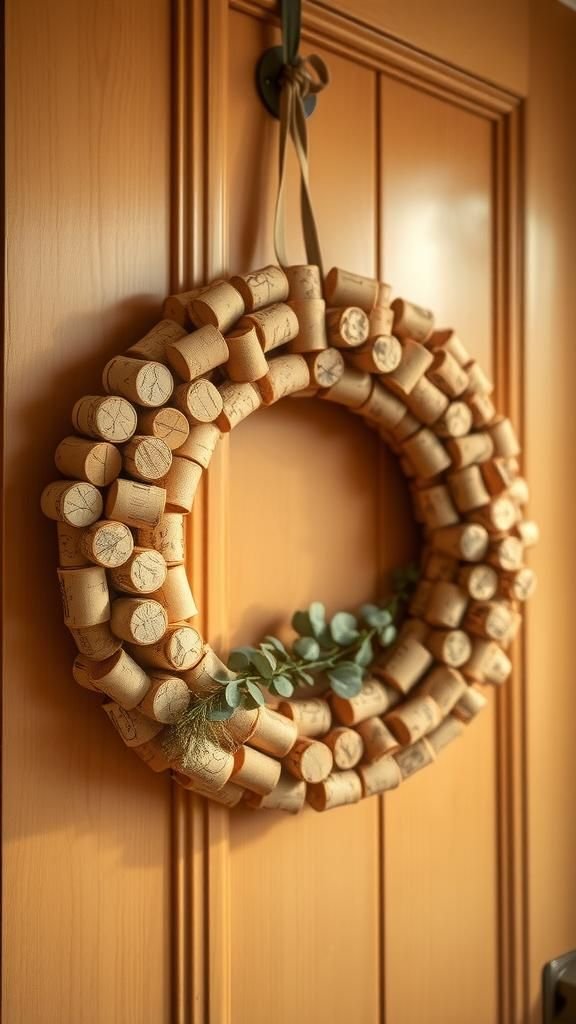
A wreath of layered corks carries a quiet, rustic mood that feels at home on both a front door and a kitchen wall. The rounded ends create a pleasing scalloped silhouette, with slight color variation forming a subtle pattern.
Close up, the porous surface offers tiny nooks for dried sprigs or a strand of twinkle lights to nestle into. The piece gives off a dry, woody aroma that blends seamlessly with evergreen clippings when paired together.
Visitors often reach out to tap a cork, curious about the texture.
Steps
- Corks are sorted by shade to build a harmonious color flow around the ring.
- They are positioned around a circular base to visualize density and spacing.
- Each cork is bonded to the base at its midsection to hold the round profile.
- Final embellishments such as dried sprigs or a thin light strand are tucked into gaps for added texture.
Tiny succulent planters made from cork halves
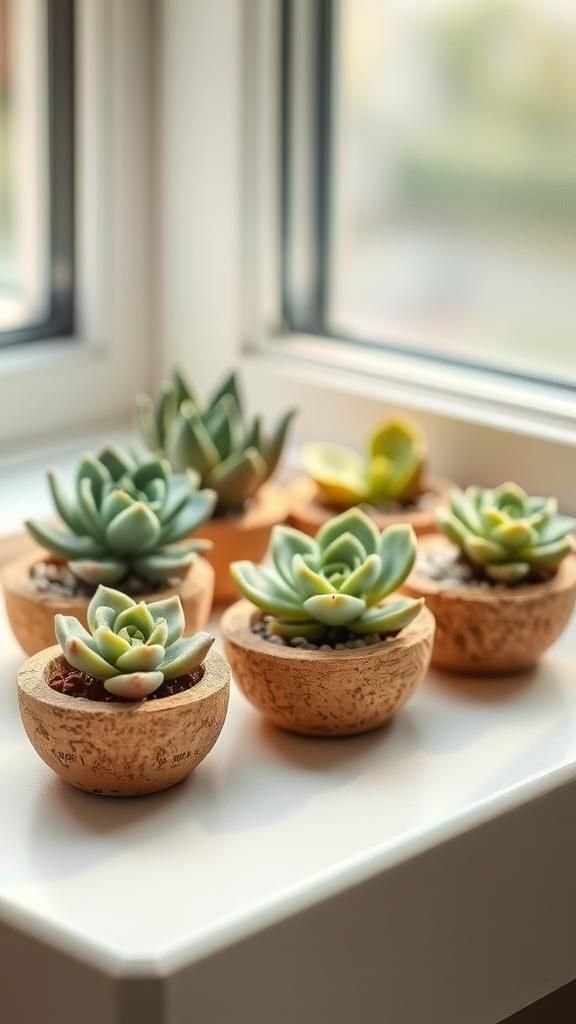
Mini planters carved from cork halves feel almost like little nests for succulents. The lightweight cups sit gently atop a shelf, their rough interiors catching soil and a hint of moisture.
When a tiny rosette is settled inside, the juxtaposition of life against the dry, woodlike cork surface is pleasing. The scent of damp soil mingles with the faint, dried-wine notes of the cork, and the whole arrangement looks like a pocket-sized garden.
These planters catch sunlight in a soft way, each plant casting a small, lively shadow.
Steps
- Pairs of cork halves are hollowed to create shallow cups suitable for small plants.
- A drainage layer is arranged inside each cup to prevent soil compaction.
- Soil and a tiny succulent are placed into the cup and lightly settled to fit.
- Planters are arranged on a sunny sill where light reaches them for growth.
Soft bath mat fashioned from aligned corks
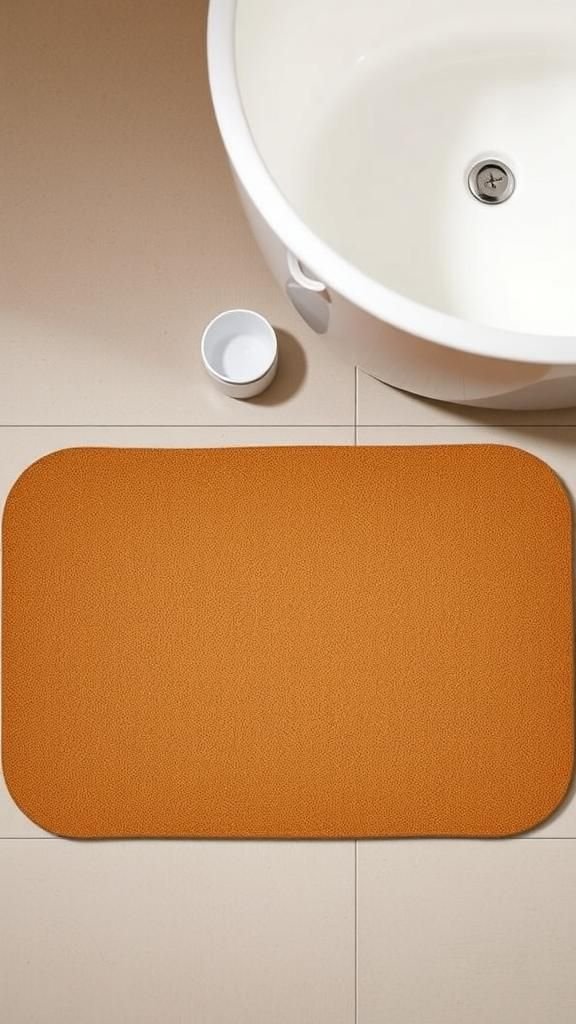
A bath mat composed of parallel corks feels surprisingly welcoming underfoot. Walking onto it produces a gentle give and a muffled sound, like stepping onto a quiet rug.
The cork absorbs warmth from feet and resists dampness in a discreet way, and when splashed it beads off rather than soaking immediately. The mat brings an earthy, spa-adjacent mood into the bathroom, and dried droplets leave faint rings that fade with air.
Its weight is satisfying and the natural hues sit well against white tile or warm stone.
Steps
- Corks are aligned side by side on a moisture-resistant base to define mat dimensions.
- Ends are trimmed where necessary to create straight perimeter lines for uniformity.
- Adhesive is applied beneath each cork to secure it to the base without movement.
- A rubberized backing is added to prevent slipping on bathroom floors.
Rustic picture frame with a cork border

A simple photograph gains a cozy, handcrafted frame when surrounded by corks. The tiny cylindrical ends create a tactile border that contrasts with glossy print.
When looking at family snapshots framed this way, the natural palette softens the scene, adding an earthy halo. The corks offer a slightly mottled texture that catches light differently across the frame, producing gentle highlights.
Handling the frame feels grounding; the material is neither cold nor slick, and the whole object invites a closer look to notice small wine stains and grain lines.
Steps
- A plain frame is prepared by clearing the edges to receive cork pieces.
- Corks are arranged around the frame opening to test fit and visual balance.
- Each cork is permanently bonded along its side to form a textured border.
- Any excess is trimmed and edges are sealed with a narrow border for durability.
Minimalist keychains made from single cork slices
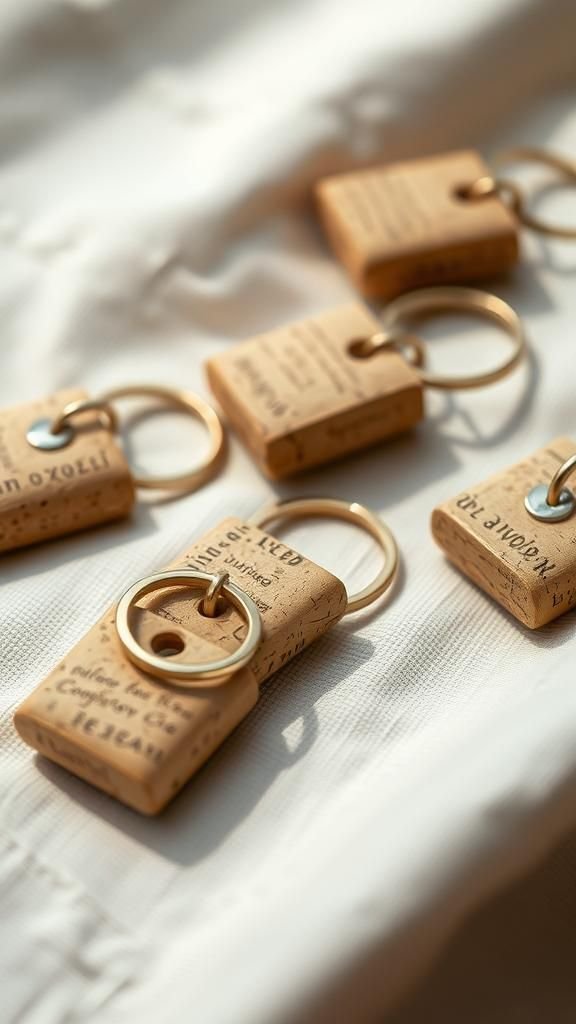
Keychains carved from a single cork slice feel light in the pocket and quietly tactile. The porous surface warms against skin and does not rattle like metal alone.
When a tiny brass ring threads through a slender hole, the whole object gains a little personality: faint wine marks or a stamped winery logo peek through. They carry an everyday comfort, like a tiny talisman gathered from evenings with friends.
Over time, fingerprints and tiny scuffs build a gentle patina that enhances the handmade quality.
Steps
- Cork slices are prepared with a narrow hole near one edge to accept hardware.
- A small metal ring is threaded through the hole to secure the keychain element.
- Any rough edges are smoothed for comfortable handling during daily carry.
Charming place card holders for dinner parties
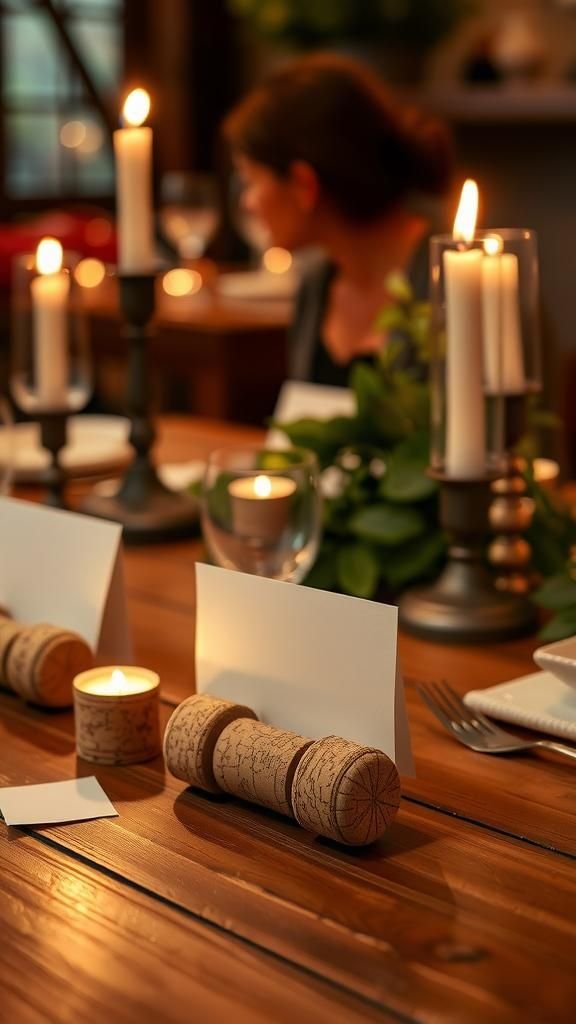
Place card holders made from upright cork halves add a playful, homespun touch to the dinner table. The slit that holds a name card captures a thin line of shadow and elevates the whole setting.
The grain of each cork contributes to an organic tension with polished flatware and crystal. They feel intimate and unpretentious, inviting conversation about the meal and the small craft that accompanied it.
The tactile contrast between smooth paper and the cork’s faint roughness is satisfying when cards are nudged into place.
Steps
- Cork halves are positioned upright and a shallow slit is formed to accept a card.
- Holders are arranged along the table to test spacing and visual rhythm.
- A gentle finishing rub is done to remove loose fibers for a clean presentation.
Tea-light candle holders with cozy glow
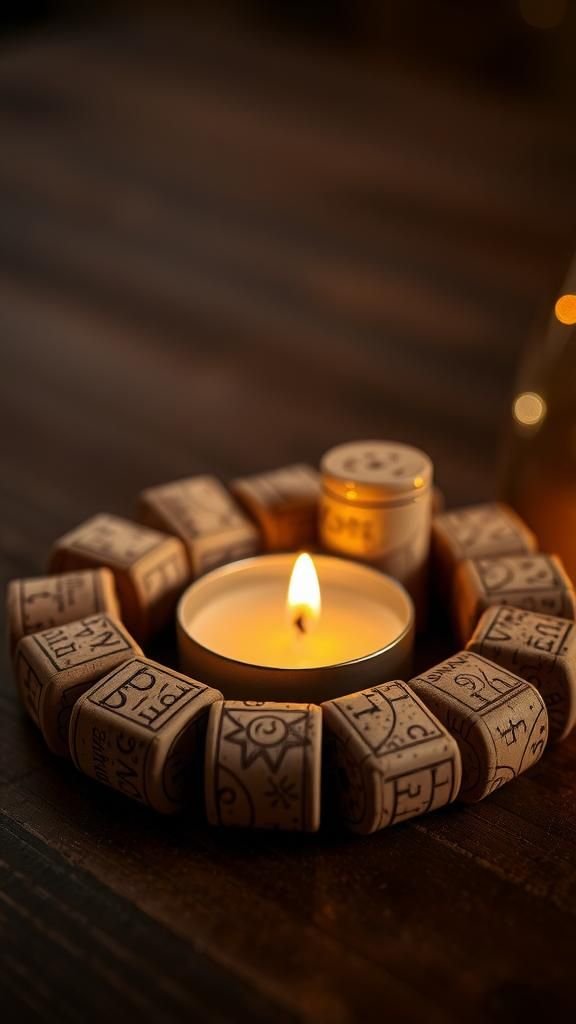
Clusters of corks arranged around a tea-light create a pocket of soft, flickering light. The cork surface diffuses the glow so that the lamp feels muted and comfortable, casting little warm halos across the tabletop.
The scent around the candles is an interplay of wax and the dry, woody notes of cork, subtle and restrained. Watching the tiny flame reflected in the varying cork tones can be hypnotic in a low-lit room, a gentle counterpoint to louder decorative pieces nearby.
Steps
- A circle of corks is formed around a central cavity sized for a tea-light.
- Inner surfaces are cleared to provide stable placement for the light source.
- Corks are bonded in place to maintain the circular arrangement and to resist shifting.
- A final check ensures safe clearance between the flame and surrounding material.
Holiday ornaments crafted from clustered corks

Small ornaments made from tight groups of corks carry an understated holiday charm. Hung by a thin ribbon, they add organic texture to a bough of evergreen, and their muted palette complements brighter glass baubles.
The cylinders catch light in little bands, creating a rhythmic shimmer when the tree shifts. Each ornament feels like a little story, a keepsake from shared meals and seasonal evenings.
The scent of cork blends with pine and orange peel when the tree is freshly decorated, producing a layered festive aroma.
Steps
- Corks are grouped into compact shapes, such as stars or spheres, to form the ornament body.
- A loop of ribbon or twine is threaded and secured to allow hanging from branches.
- The clusters are bonded and any gaps are filled for a cohesive silhouette.
- Surface accents like metallic paint or small sprigs are added for seasonal flair.
Decorative drawer pulls with cork accents
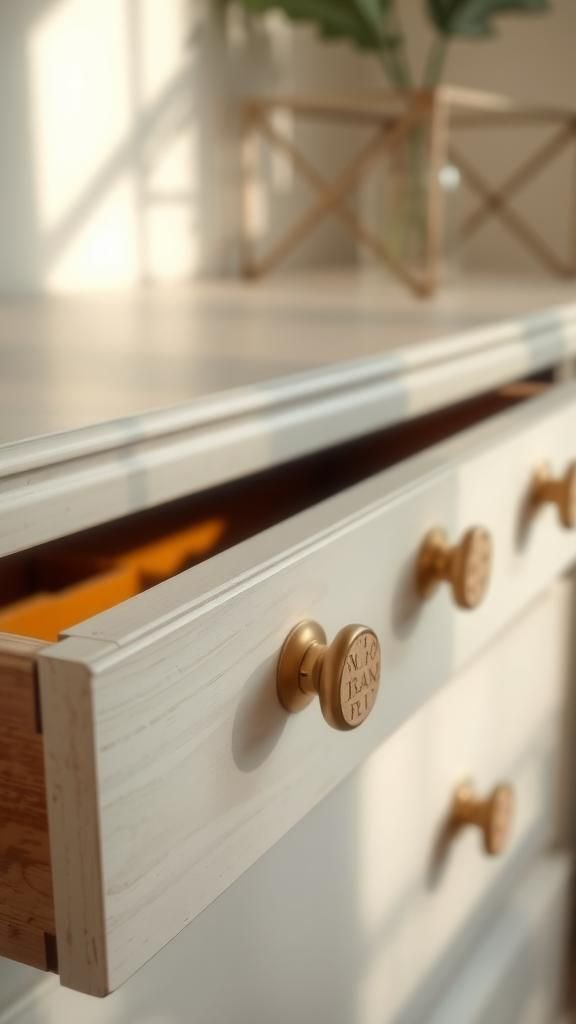
Replacing standard drawer pulls with short cork rods adds a soft, tactile element to a dresser. The slight give of cork makes opening drawers feel gentle, and the muted color palette blends with painted woods.
Fingers appreciate the comfortable diameter and the tiny nubs where the cork reveals its wine-stained past. Paired with antique brass screws, the combination reads like a careful thrifted find.
The overall effect is subtle: a practical change that lends a handmade whisper to everyday rituals like pulling open a sock drawer.
Steps
- Cork rods are measured and trimmed to match the drawer face proportions.
- A threaded insert is set into the cork to accept mounting hardware.
- Each cork pull is mounted to the drawer using compatible screws and checked for alignment.
- The final feel is tested to ensure a smooth, comfortable grip.
Mosaic wall art assembled from many cork faces
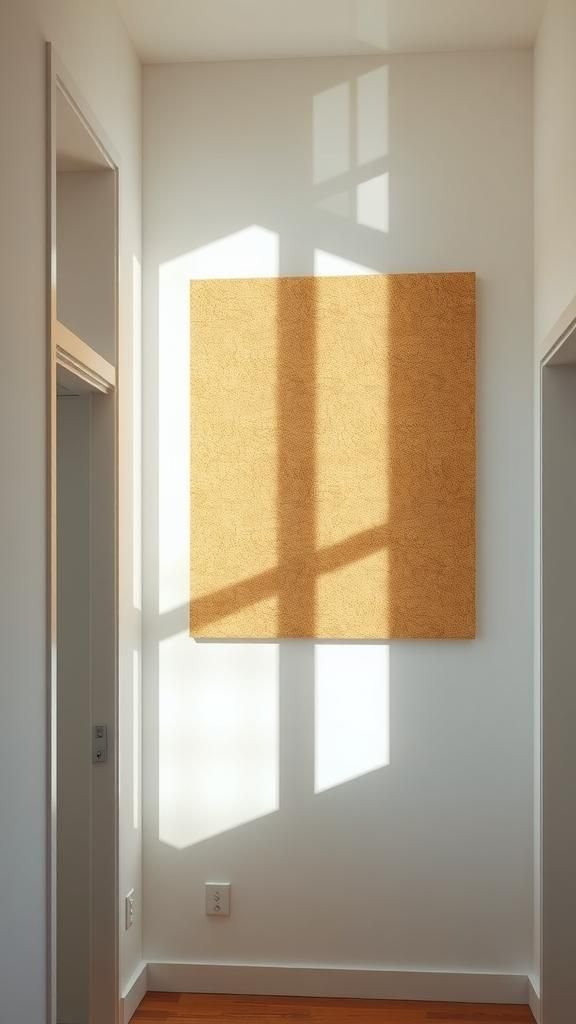
A wall piece assembled from cut cork faces presents a varied landscape of light and shadow. From a distance it reads like a neutral abstract composition; up close the tiny cellular patterns of the cork reveal themselves.
The piece transforms hallway light, capturing a subtle warmth that shifts with the day. Watching how sun moves across the surface creates a small, relaxing spectacle.
The work hangs quietly, inviting a slow approach so that each circular end becomes an individual mark in a larger, calming map.
Steps
- Cork ends are arranged into a planned composition on a backing to explore pattern and contrast.
- Each piece is bonded to the backing to create a stable mosaic surface.
- Edges are trimmed and a narrow frame is fitted to present a finished border.
- The artwork is hung at eye level to allow appreciation of texture and tonality.
Napkin rings that bring gentle texture to tables

Napkin rings fashioned from short cork tubes add a tactile pause to place settings. Fingers feel the porous outer surface and the soft resistance when looping a cloth napkin through.
The material absorbs tiny spills and resists abrupt temperature shifts from handling. When lined up along a long table, the subtle natural hues form a quiet rhythm between plates and centerpieces.
They fit into both casual gatherings and slightly dressed-up meals, contributing a handcrafted detail that guests often note with an intrigued smile.
Steps
- Short cork sections are selected for uniform diameter to ensure napkin compatibility.
- Interior openings are smoothed to prevent fabric snags during presentation.
- Decorative accents such as thin bands or small stamps are added for character.
- Rings are arranged on the table to confirm spacing and visual balance.
A playful cork stamp for crafting cards
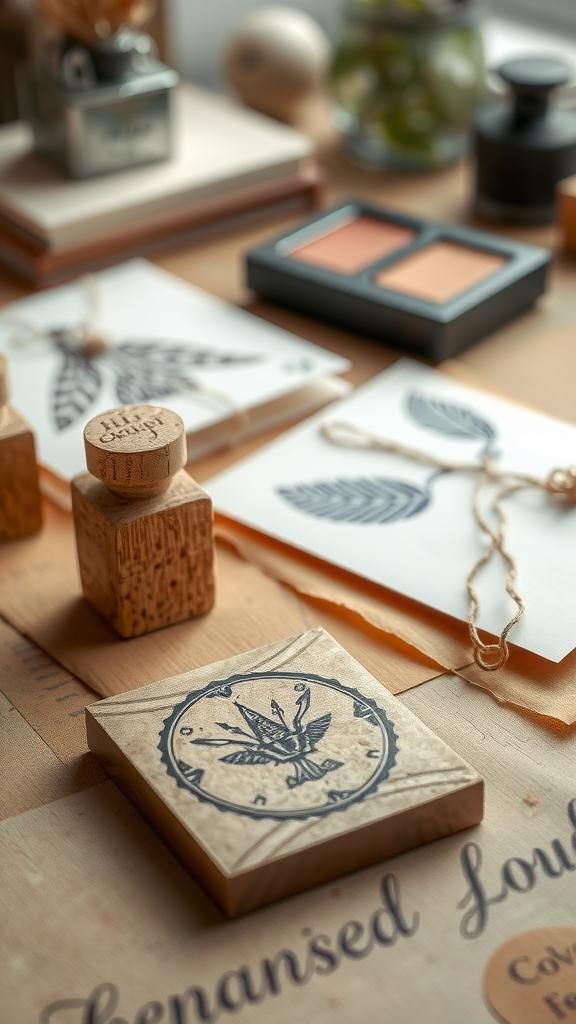
A cork stamp carved carefully reveals a simple motif that leaves a small, charming impression on paper. The stamped pattern carries a handmade irregularity that feels expressive rather than clinical.
Ink sits differently on the porous cork, producing slight texture in each impression that changes with pressure. Holding a card with a row of these stamps evokes letters written slowly, not sent in haste.
The scent in the air is a mix of ink and the dry, woody note from the cork, and each stamped line records a tiny gesture of making.
Steps
- A design is transferred to a cork face to mark the intended motif.
- The negative areas are removed to produce a raised pattern suitable for inking.
- The stamp is pressed lightly into ink and trialed on scrap paper to check impression clarity.
- Adjustments are made by refining raised and recessed surfaces until the desired texture is achieved.
Wine cork place mats with repeating rhythm
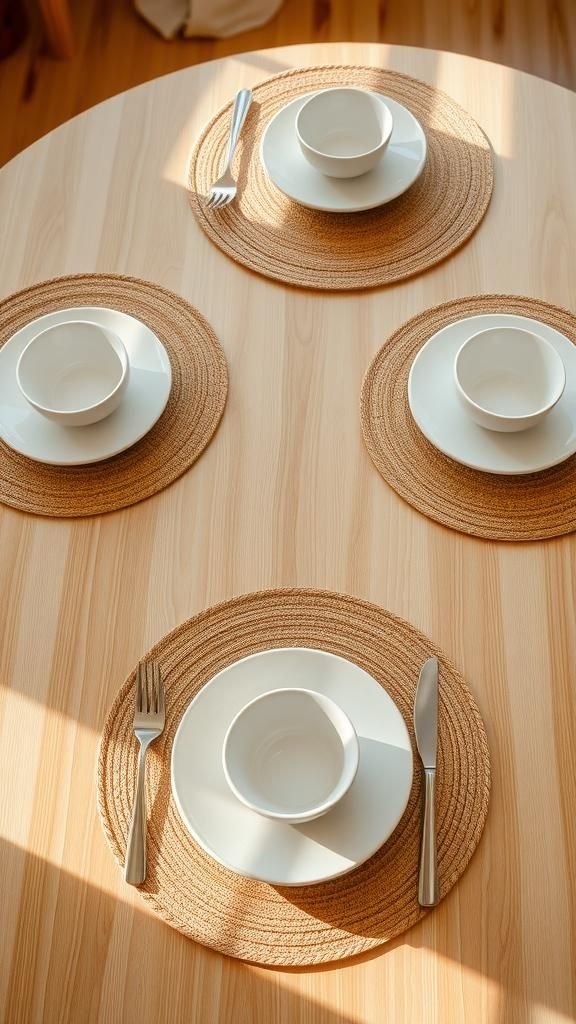
A set of place mats built from aligned cork segments feels like a collection of tiny wood tiles laid in formation. Hands moving across a table notice the slightly springy resistance and the muted thud from dishware.
The mats soften the visual field at each place setting and provide a pleasant thermal break between ceramic and table. When the table is cleared, faint coffee rings or crumbs settle into the shallow pores and then dry into subtle marks that become part of the piece’s evolving look.
Steps
- Cork pieces are aligned in rows on a flexible backing to define the mat dimensions.
- Edges are squared and excess material is trimmed for a tidy outline.
- A protective top coating is brushed or sprayed to resist minor spills and staining.
- Mats are allowed to cure fully before being placed under hot or heavy objects.
Chic bracelet made from linked cork beads
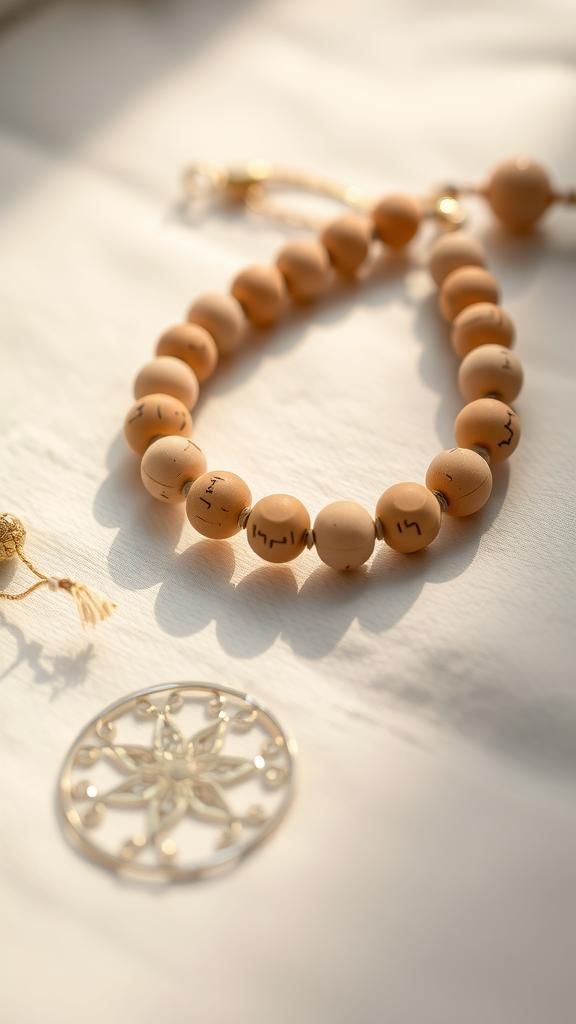
A bracelet composed of gently rounded cork beads wears featherlight and quietly warms against the wrist. The beads have a matte finish that contrasts nicely with a small brass clasp, creating a blend of natural and refined.
Walking around, the bracelet moves with a soft, barely audible whisper that feels intimate rather than noisy. Over days it develops faint marks from daily life that make it feel like an old friend rather than a new accessory.
It pairs well with linen sleeves and sunlit patios.
Steps
- Cork beads are drilled with small holes to receive a linking cord.
- Beads are strung onto a durable cord and spaced to create comfortable movement.
- A clasp is secured at the ends to allow the bracelet to be fastened and removed.
- The assembly is tested for fit and adjusted for wrist comfort.
Cozy wine cork tabletop centerpiece block

A low, rectangular block of tightly packed corks forms a versatile centerpiece that anchors candles, vases or seasonal sprigs. The block’s surface is tactile and almost velvety, with small crescent shapes and faint stains that read like a map of evenings shared.
The height is modest so that conversation continues uninterrupted across the table, and the piece absorbs little light, lending a gentle, grounded presence. It feels stable and lived-in, a handcrafted object that invites rearrangement as moods and seasons change.
Steps
- Corks are packed tightly within a rectangular mold to create a compact block.
- A bonding agent is introduced between corks to ensure a stable mass once cured.
- The block is released from the mold and any rough edges are refined for uniformity.
- The finished piece is placed centrally to support decorative elements safely.
Magnetic cork board strips for the kitchen fridge
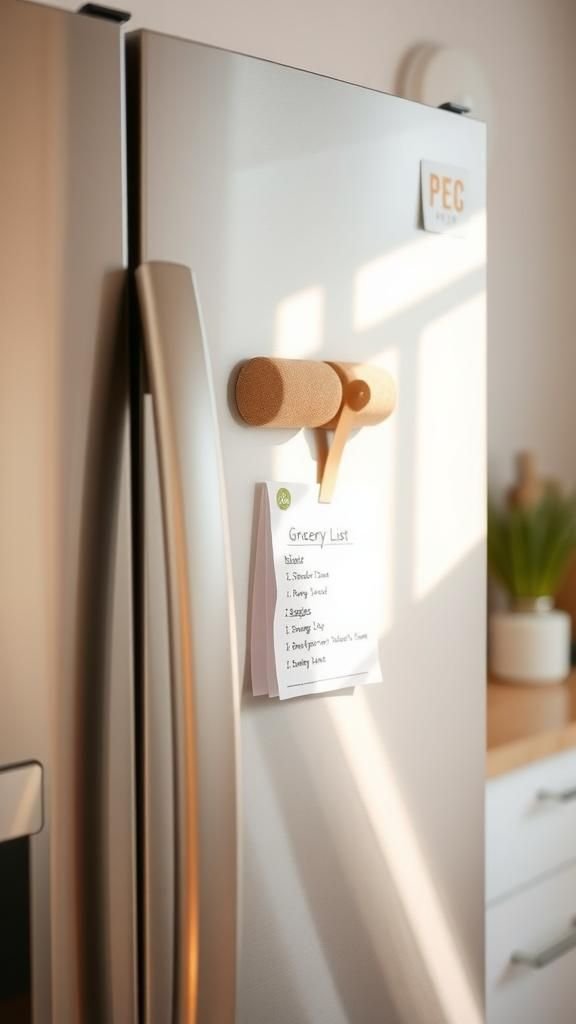
Slim strips of cork fitted with magnets feel like tiny islands for notes and lists on the fridge. The cork provides just enough grip for paper corners without overwhelming the smooth steel beneath.
In the kitchen light, the strips look intentionally minimal: a practical, tactile alternative to clumsy magnets. A quick run of fingers across the strip reveals the warm, slightly spongy texture of natural cork.
The strips carry small marks where items have been pressed into their surface, each one a trace of daily life.
Steps
- Cork strips are cut to uniform lengths and adhered to magnetic backing strips.
- Edges are finished to prevent fraying and to create a clean line against the fridge.
- Strips are positioned on the appliance to determine ideal placement for notes.
- A few test items are affixed to confirm holding strength and practical function.
A tiny tabletop herb planter made from trimmed corks
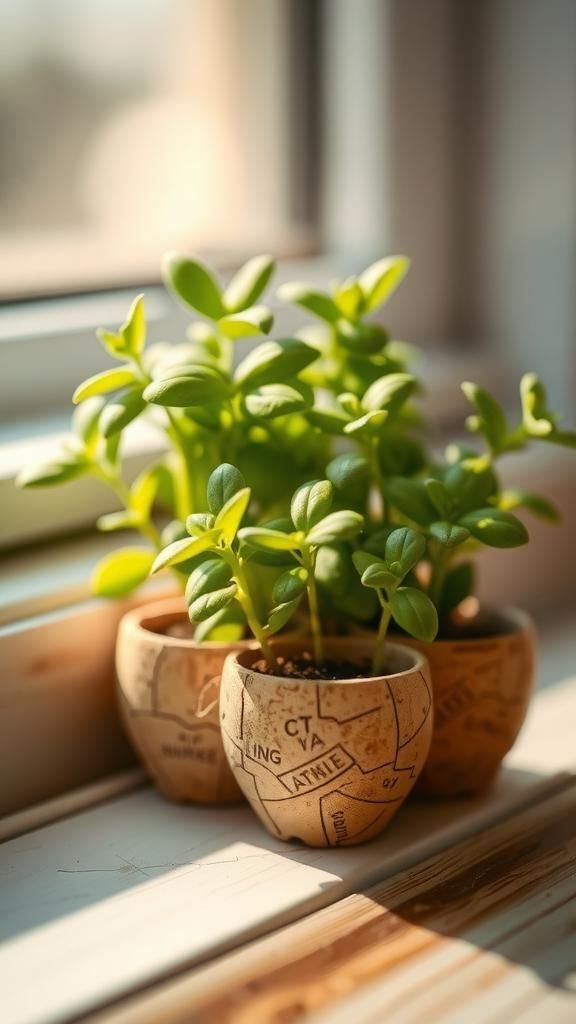
A compact herb planter built from a cluster of trimmed corks brings a green breath to a windowsill. The little plants contrast with the warm grain of the cork, and the whole arrangement reads like a miniature landscape.
Morning light catches the leaves and the tiny pockets of soil in the cork cups, creating a small, lively vignette. The scent of herbs blends with the dry timber aroma of the cork, and the planter’s modest scale makes it an easy companion in tight spaces.
Steps
- Cork sections are trimmed to form small hollowed containers suitable for herb seedlings.
- A collective base is fashioned to hold multiple cork planters in a stable formation.
- Soil is settled into each hollow and seedlings are gently positioned for establishment.
- The planter is placed where it receives ample light for healthy growth.
A compact pen cup for desks using lots of corks
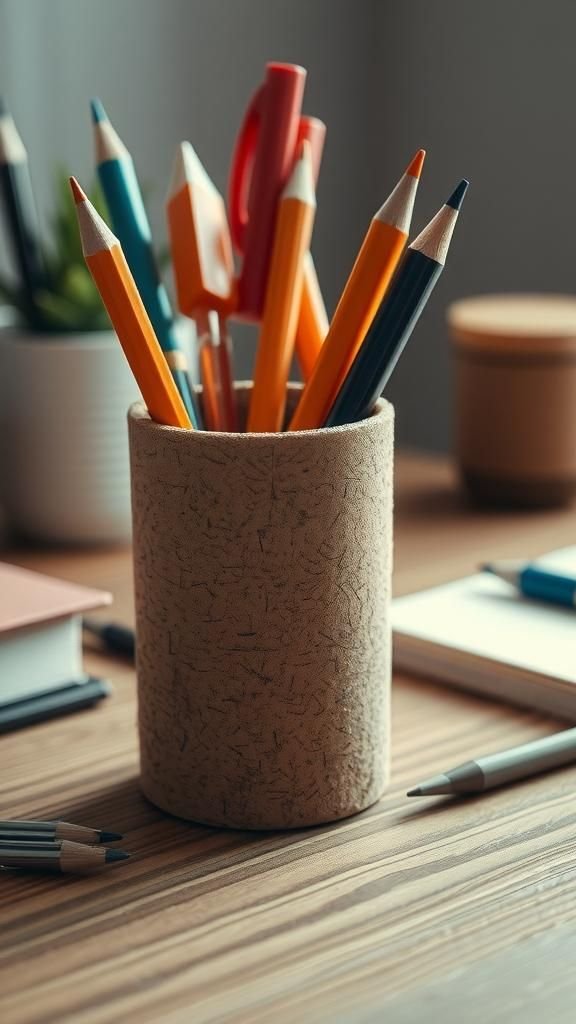
A pen cup formed from a ring of standing corks gives a pleasant weight to an otherwise lightweight object. The inside feels warm when reached into, and the cork surface cushions cold metal pens in a way that makes morning writing more agreeable.
It sits steady on a desk and collects a little of the dust and pencil shavings of creative days. The overall effect blends function with a soft aesthetic that complements paper, leather notebooks and a slowly brewed cup of coffee.
Steps
- Corks are stood upright in a tight circular formation around a temporary core.
- Bonding material is introduced to hold the corks together while retaining a hollow center.
- Once cured, the core is removed and the interior is checked for smoothness.
- The cup is placed on the desk to hold pens and small tools.