I grew up with a kitchen table full of tiny envelopes and scraps of ribbon; that slow, daily ritual of opening a pocket each morning still feels cozy. Making small containers and little surprises became a way to stretch a quiet tradition into new textures and colors.
This list gathers playful, hands-on ideas for DIY Advent Calendar Craft Ideas that lean into tactile materials and simple pleasures.
Many of these felt like experiments that turned into favorites, each one carrying a small, warm rhythm across December mornings.
Matchbox drawer calendar with tiny keepsakes

I stumbled on an old stack of matchboxes and the idea clicked: a tiny drawer for each day felt like a miniature cabinet of curiosities. The thin cardboard slides with a faint paper scent, and small sweets or notes tuck into each hollow.
I liked the little resistance when pulling a drawer, the soft scrape against wood or fabric. Numbered stickers and a faded ribbon made the whole thing feel like a thrifted treasure.
It sat on a windowsill with morning light catching numbered tops, every day offering a small, warm pause.
Steps
- gather a set of matchboxes and smooth paper for liners
- measure inner spaces and cut paper pieces to line each drawer
- number the outside of each drawer and fill with tiny treats or notes
- arrange the drawers in a box or tray and secure corners with narrow tape
- place on a shelf where morning light can highlight the numbers
A felt pocket banner that smells like winter

A felt banner felt immediate and soft, the kind of project that invited fingers to linger. Each pocket had a tiny loop and the wool felt gave a plush matte finish that dampened the room, like a quieting blanket.
Cinnamon sachets and little peppermint sticks sent a warm scent through the air when opening pockets, and the thread detail added a cozy, hand-stitched look. Hung over a mantle, the banner cast small shadows and invited me to trace seams with a fingertip while sipping a mug by the fire.
Steps
- cut felt panels into matching pocket shapes and stack into pairs
- stitch edges around three sides leaving an opening at the top
- number pockets with ink or fabric markers and tuck small scented sachets inside
- line up pockets on a length of twine and secure with hand stitching or thin cord loops
- hang across a mantle or wall and adjust spacing for a balanced look
Toilet-paper tube village — charming and rustic

A row of recycled tubes turned into a tiny village, each cylinder transformed into a little house with a different personality. The hollow sound when knocking one felt playful, and rough kraft paper gave a rustic look that paired well with twine and rough-cut tags.
Handwritten numbers on small tags had a homespun charm, and scattered sawdust from a cutting session left the table smelling faintly woody. It was the sort of project that made me feel thrifty and delighted at the same time, especially when morning light hit a row of miniature rooftops.
Steps
- slice toilet-paper tubes to desired heights and flatten slightly for stability
- wrap each tube with decorative paper and secure edges with double-sided tape
- add tiny paper roofs and glue tabs beneath them to hold shape
- number each house on a small tag and thread with twine around the base
- arrange the houses in a line or cluster on a tray for display
Envelope garland that whispers nostalgia
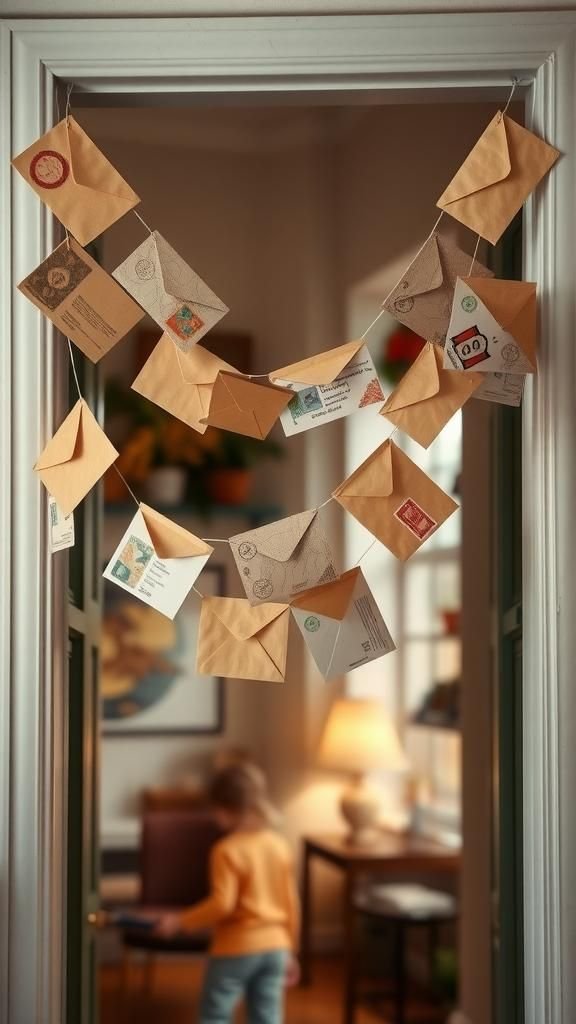
There was something indulgent about folding many paper envelopes and turning them into a garland that draped across a doorway. I liked the crinkle of thin paper and the tiny flap that sealed each secret.
Old stamps and torn edges added a secondhand, mailroom charm, while small photos slipped into pockets made each day feel personal. The garland moved gently with drafts, making quiet rustling sounds that belonged to winter evenings.
It read like a slow string of small messages, each envelope a breath of anticipation.
Steps
- gather assorted paper and fold into small envelopes, sealing each flap with narrow adhesive
- number envelopes discreetly on the back or front with a marker
- tuck small notes, photos, or flat treats into each envelope
- thread envelopes onto a length of ribbon or twine through punched holes
- drape the garland across a doorway, shelf, or window frame
Tiny terracotta pot countdown with earthy charm
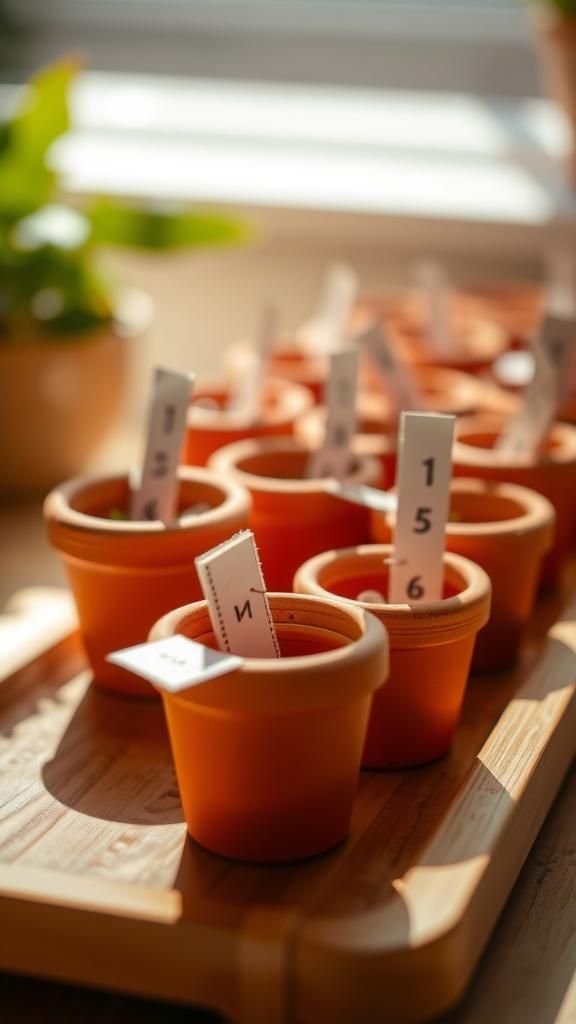
Small terracotta pots brought an earthy, grounded feeling to the season. The porous surface held a faint dustiness that paired nicely with a cotton ribbon or twine.
I enjoyed lining them up on a sill where light warmed the clay and tiny paper tags leaned against rims. The faint mineral scent of fired clay mixed with the smell of potting soil left the air snug.
A little note tucked into the hollow felt satisfying and tactile, and the visual rhythm of round pots felt calm and ordered.
Steps
- gather a set of small terracotta pots and wipe them clean of dust
- number the pots with a pencil or permanent marker on the rim
- place tiny treats or folded notes inside each hollow
- arrange pots on a wooden tray and wind twine loosely between them
- display on a sunny windowsill where clay warms gently in daylight
Mason jar lid keepsakes with vintage flair
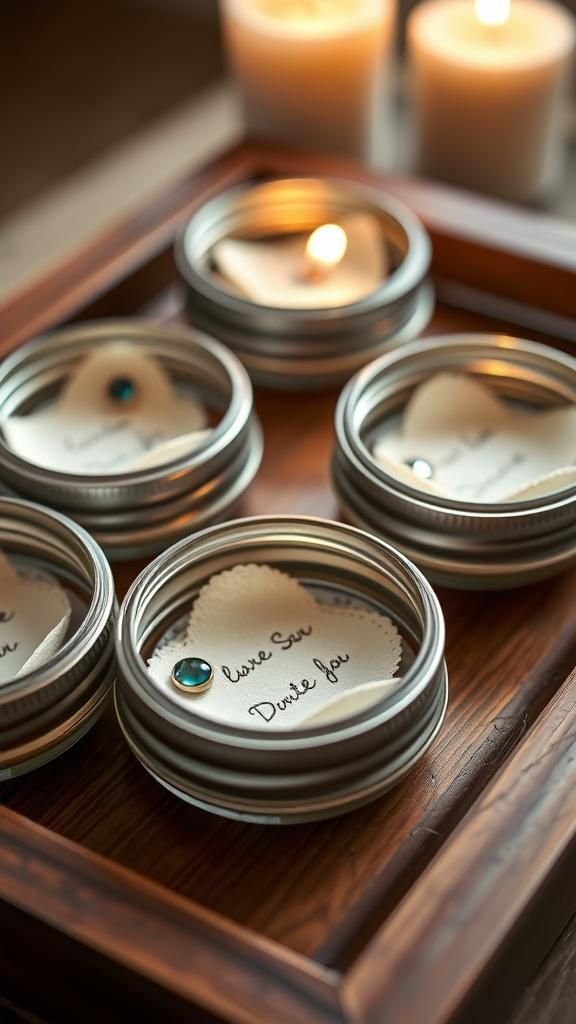
The flat, rimmed lids of mason jars made neat little frames for tiny treasures. I liked the clink when placing a small charm inside and the metallic whisper when sliding lids together.
A circle of felt beneath the lid softened the sound and offered a cozy base. Old labels and twine around the rim added a vintage market feeling, and the jars caught candlelight in a comforting way.
This approach felt like making small reliquaries, each lid holding a miniature memory waiting to be revealed with a gentle lift.
Steps
- collect mason jar lids and clean them to remove dust
- cut small felt circles to line each lid for a soft base
- place tiny trinkets or notes on the felt inside each lid
- number lids with ink or small stickers around the rim
- arrange lids on a tray or inside a shallow box for display
Origami house pockets that feel storybook sweet

Folding paper into a row of tiny houses felt quietly meditative, and the crisp edges made a small village that read like a page from a picture book. Thin patterned paper gave each house a distinct personality, and soft inked numbers on chimneys added a playful detail.
Paper had a faint papery smell that brought to mind libraries and wrapping paper days. When afternoon light hit the roofs, the shadows made a miniature skyline that felt like a tiny town waking up each morning with its own small secret.
Steps
- choose patterned paper squares and crease them into small house shapes
- tuck a slim note or flat candy inside the roof space of each house
- mark a number on the front with a fine-tip pen
- string the houses on thin cord through small punched holes at the top
- hang the paper village along a shelf edge or above a window
Tiny clothespin tags clipped to a branch
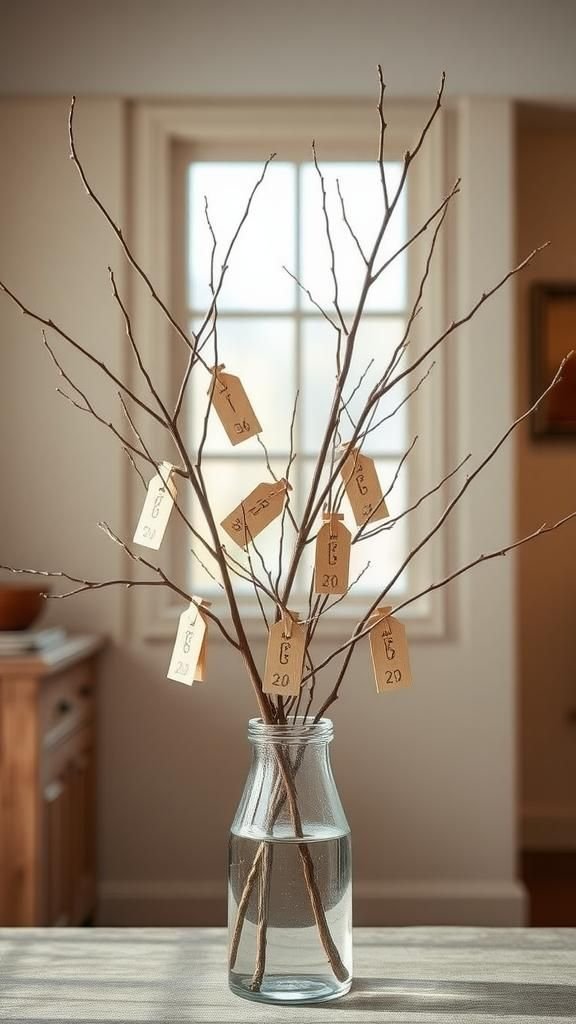
A bare branch gathered from the yard became a seasonal display when small tags were clipped across its arms. The dry bark and little buds offered a woodland scent that felt alive in winter.
Clothespins had a tactile springiness and the faint warmth of wood under fingers, making each clasp feel like a small ceremony. Handwritten notes and tiny trinkets hanging from pins swayed slightly in a draft, and the overall look read like an improvised mobile of memories and treats.
It brought the outside in with quiet, rustic style.
Steps
- select a sturdy, clean branch and place it in a low vase or holder
- prepare small paper tags and write numbers or notes on each
- clip each tag to the branch using miniature clothespins
- tuck small flat treats or tiny ornaments under some clips for variation
- position the branch where it can sway gently without obstruction
Upcycled tin-can cups with cheerful labels
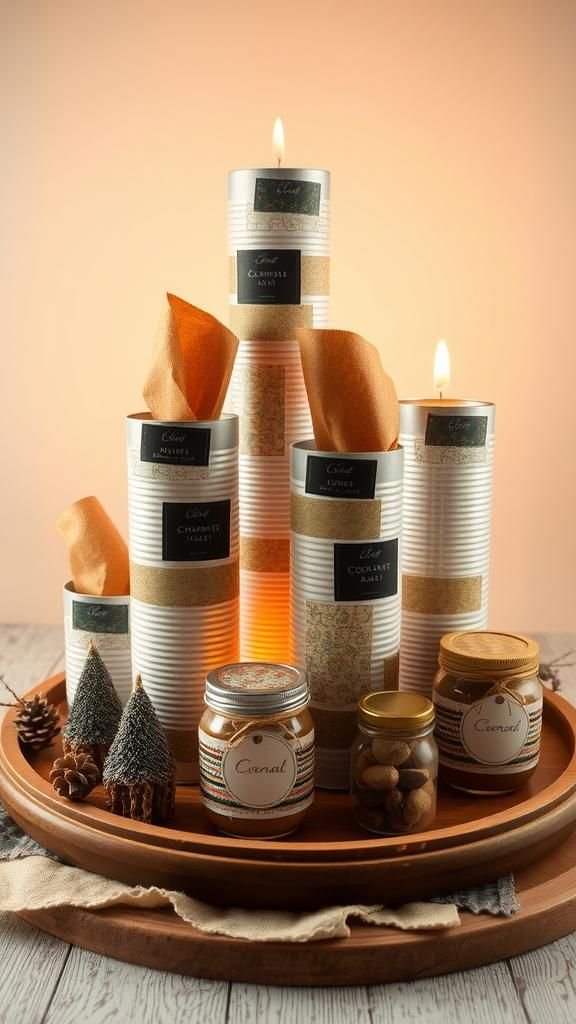
A line of cleaned tin cans felt cheerful in its industrial simplicity, each one painted or wrapped with paper for personality. The metallic rim had a cool touch and a faint echo when tapped.
I liked the contrast between cold metal and warm, hand-lettered labels taped at crooked angles. Small jars of cocoa mix or single-serving treats sat inside with an honest, recycled look.
Arranging metal and paper together made the piece feel playful and practical, and the row of mismatched heights created a lively rhythm across the table.
Steps
- collect and clean small tin cans, removing any sharp edges carefully
- wrap each can with decorative paper or fabric and secure with adhesive strips
- add a numbered label to each can and place a small treat inside
- cluster the cans on a tray or shelf in an appealing arrangement
- add a ribbon or simple bow around a few cans for a festive touch
Mini pillow boxes for soft, secret gifts

Pillow boxes felt playful because they curved in the hand and invited squeezing to reveal contents. The paper crispness and the slight spring of the ends made each opening a small, joyful moment.
I favored textured cardstock that caught light and threw soft highlights across the arc. Tiny dried orange slices and a folded note nestled inside with an almost perfumed sweetness.
Laying them out in a neat row made them look like a convoy of soft packages, each promising a small, private smile when unwrapped at dawn.
Steps
- cut pillow box templates from cardstock and pre-crease along scored lines
- curve the sides gently and tuck in the rounded ends to form boxes
- write numbers on the top or attach small adhesive labels
- place a small treat or folded message inside each pillow
- line up the boxes on a decorative plate or in a shallow basket
Seed packet surprises for green-thumb mornings

Tiny seed packets felt like promises of spring tucked into a winter ritual. The dry paper crinkle and the faint vegetal scent carried a hopeful note.
Each envelope held a small selection of seeds with a handwritten planting hint on the back, and the idea of a little green shoot after the holidays felt quietly optimistic. I liked sorting packets by color and weight, the tactile difference between mustard seed and pea seed surprising.
The whole set arrived like a compact nursery of potential, each day offering a small future to imagine.
Steps
- create small paper packets and label each with plant name and planting hints
- portion seeds into packets and close them with a narrow strip of adhesive
- number the packets in your preferred order
- arrange packets in a shallow box or line them on a shelf
- include a small card explaining when to plant for each seed
Tea-bag sachet calendar for slow mornings
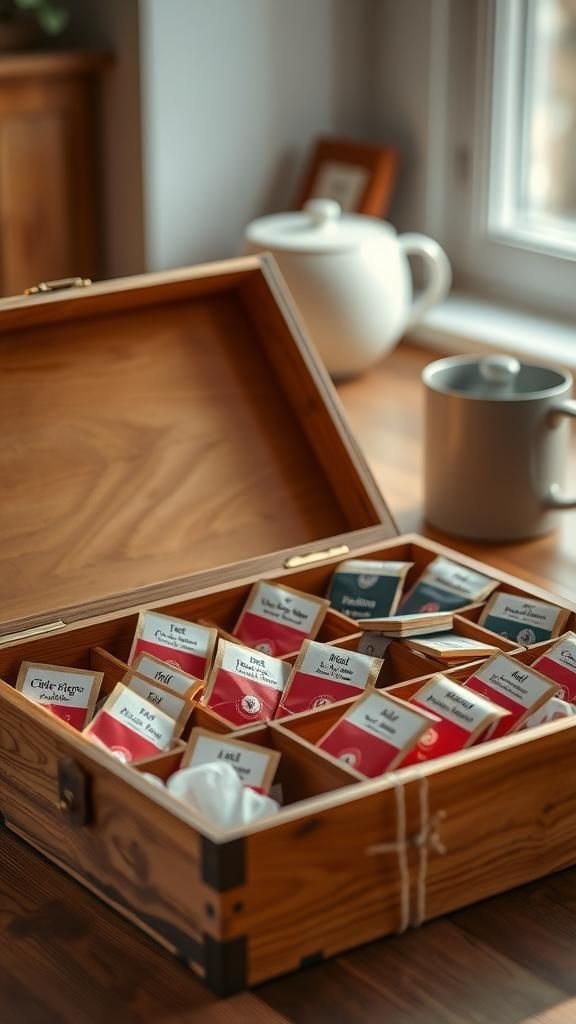
A tea-bag advent felt gentle and slow, each pouch promising a warm cup. I liked the paper tag dangling from a string and the faint aroma of dried herbs when opening a pocket.
Different blends lined up like a tasting flight, and the ritual of choosing a flavor added a tiny ceremony to the day. A small box with tissue-lined compartments made the collection feel like a curated assortment from a market, and steam rising from a mug on a cold morning felt like a quiet, sweet confirmation that the day had begun softly.
Steps
- gather an assortment of tea bags in individual wrappers and select a display box
- line small compartments with tissue to cushion delicate pouches
- place one tea bag in each compartment and add a numbered tag
- tuck a small tasting note or pairing suggestion beside a few pouches
- keep the box near the kettle for easy morning access
Chalkboard tags on tiny wooden clips
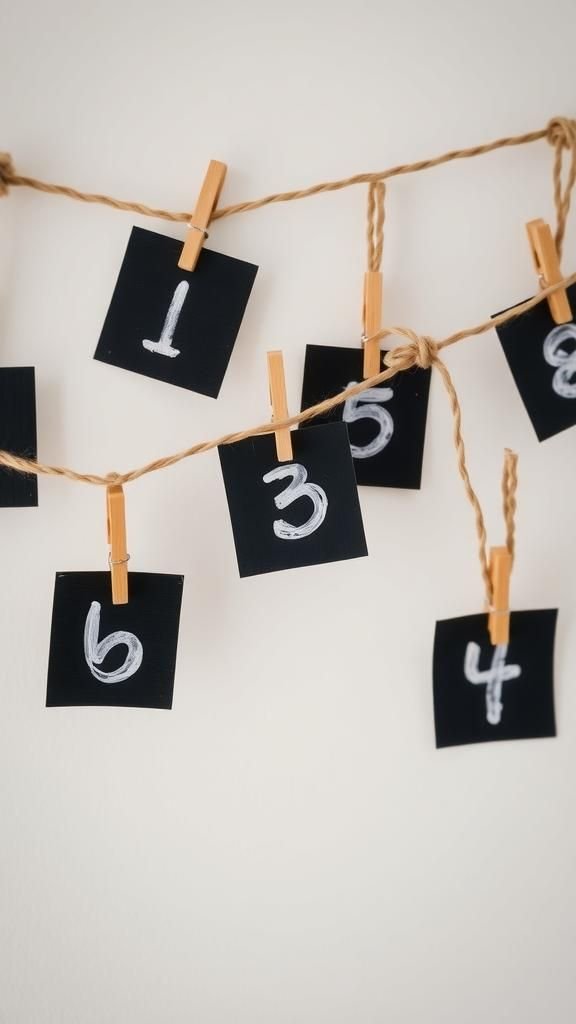
The matte, dusty surface of mini chalkboards felt satisfying to stroke with a fingertip, and tiny white numbers stood out with a handmade charm. Each board clipped to a length of rustic twine created a minimalist countdown that read like a little classroom display.
The soft chalk dust left a whisper on fingers and the wooden clips had a warm, familiar grain. I liked rearranging boards when guests arrived, mixing dates and small notes, and the overall look felt clean yet playful against a pale wall.
Steps
- cut small chalkboard panels or purchase miniature boards and number them with chalk pencil
- clip each board to a wooden peg or clip
- thread clips along a length of twine or cord and space evenly
- tuck tiny notes or flat treats behind selected boards for surprise days
- hang the garland in a bright spot where chalk dust can be brushed away
Cork-stoppered scrolls that feel like secret letters
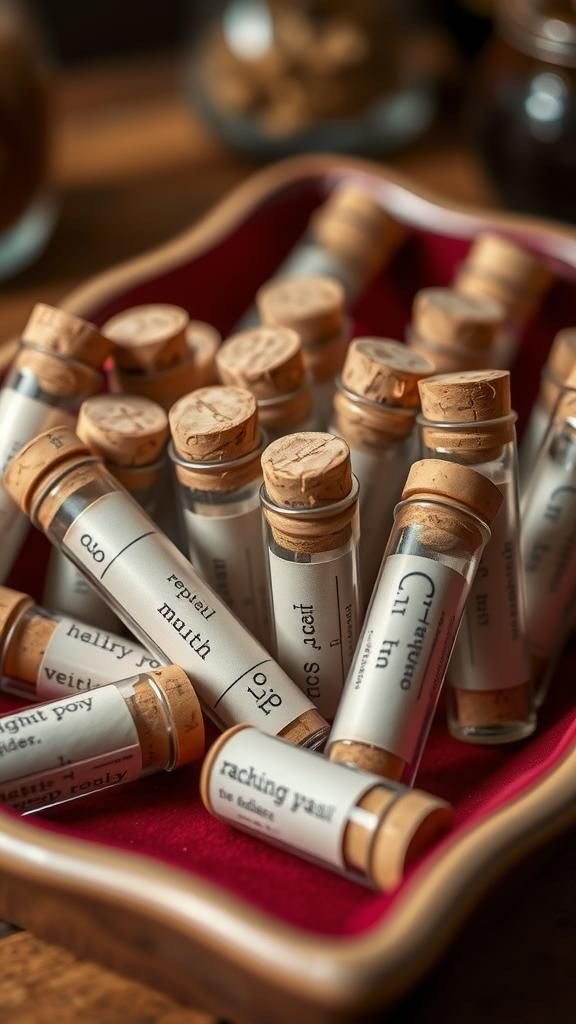
Small rolls of paper sealed in tiny glass tubes with cork stoppers felt like miniature messages in bottles. The smooth glass, the faint must of old paper, and the satisfying pop when a stopper came free made each opening tactile and theatrical.
Hand-lettered notes curled gently inside and the tubes caught light like tiny prisms. Lined in a shallow box they resembled a small apothecary shelf, each tube promising a whisper or a small dare.
I enjoyed arranging them by height so the display looked like a tiny, enchanted laboratory.
Steps
- write short notes on strips of paper and roll them tightly
- insert rolled notes into small glass tubes and seal with cork stoppers
- number the outside of each tube with a marker or sticker
- lay tubes in a shallow tray lined with soft fabric to prevent rolling
- group tubes by size for a balanced visual display
Mini wooden block countdown with tactile heft

Little wooden blocks had a satisfying weight that made them feel substantial in the hand. The grain of the wood and the faint scent of sap brought a forest hint into the room.
Numbers burned or inked into faces looked handsome against raw timber; some blocks carried tiny notches or carved details. Lining them up on a mantel felt architectonic, a small wooden city that shifted each day.
I liked the clack of pieces settling into place and the honest, simple feel of natural materials over glossy finishes.
Steps
- select small wooden blocks and sand any rough edges for smoothness
- mark a number on one face of each block with a woodburning pen or ink
- tuck a tiny slip of paper into a shallow drilled hole or behind each block
- arrange blocks on a shelf in a sequence that pleases the eye
- rotate or shuffle blocks occasionally to refresh the display
Paper cone pockets hung like a paper forest
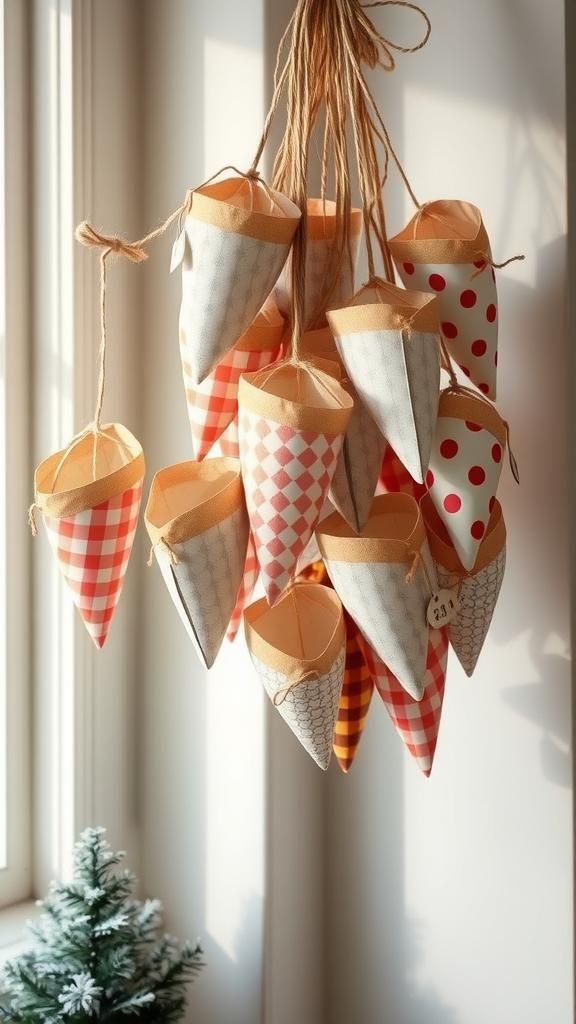
Paper cones felt playful and a little theatrical, each one like a tiny party hat hiding a treat. The rustle of thin paper when slipping an item inside carried the anticipation of unwrapping.
Patterns and solids mixed well, and the tapered silhouette cast delicate shadows when clustered together. I liked the vertical line they made when suspended from a ceiling beam, turning a corner into a paper forest.
The cones created a soft canopy of color and made reaching in feel like a small, secretive motion beneath a canopy of light.
Steps
- cut paper into semicircles and curl them into cone shapes, securing edges with narrow tape
- number the outside of each cone with ink or small stickers
- drop a small candy or note into each cone and close the tip gently
- thread cones onto twine through small punched holes at the top
- suspend the strand across a doorway or corner to form a hanging display
Mini pillow-sachet delights with scented fillings
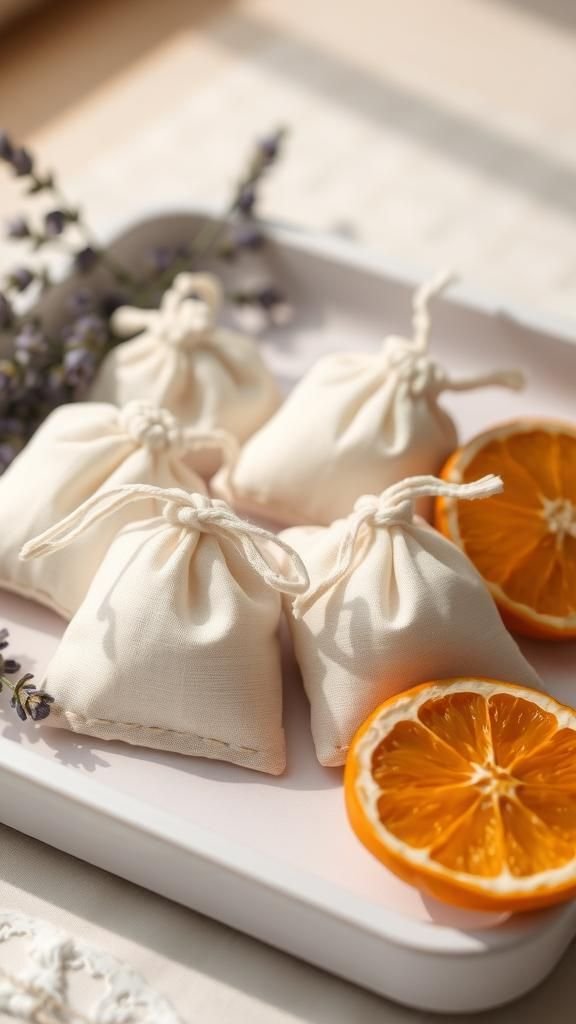
Tiny fabric sachets filled with lavender or dried orange felt like small breaths of calm. The cotton cloth softened when cupped and the scent rose in a gentle, herbal wave.
Stitched seams and visible thread tied each sachet into a small crafted moment, and different fabrics made a pleasant textile mix. Lining them up on a tray smelled like a slow kitchen afternoon, with soft plumes of scent escaping whenever a pocket was opened.
I often dropped a card with a short thought inside, making each scent a companion to a tiny note.
Steps
- cut small fabric squares and place dried herbs or tiny scented sachets in the center
- bring edges together and stitch around three sides, leaving one side open
- tuck a folded note into each sachet and close the final side with small stitches
- number the front of each sachet with a fabric marker or embroidered digit
- display sachets in a shallow bowl or hang them with thin ribbon
Tiny spice bundle surprises with warming scents

A row of little spice bundles brought strong, comforting aromas into the room: clove, cinnamon, star anise mingling into a warm swirl. Burlap and twine held small paper cones of spice, and the scent opened like a warm blanket when a bundle was nudged.
The deep brown and reddish tones of the spices looked beautiful against neutral wrappings, and the slight grit of powdered sugar dust in the air hinted at baking to come. It was a calendar that engaged the nose as much as the eyes, turning mornings into a sensory practice.
Steps
- portion small amounts of whole spices into tiny paper cones or cloth bags
- secure each bundle with twine and add a small numbered tag
- place bundles in a shallow crate or line them on a shelf
- include a short note suggesting a seasonal recipe or scent pairing
- refresh bundles if aroma fades by gently opening a few to release scent
Photo memory pockets for a sentimental countdown

A calendar made of tiny photo pockets felt quietly sentimental, each slot holding an image that triggered a story. The glossy sheen of photographs against matte card created a pleasing contrast, and flipping through images became a gentle reflection practice.
Old smiles and candid snapshots peeked out, each one paired with a short caption on a tiny square of paper. The sight of different faces brought a soft, connective warmth to each morning, and arranging the pockets in a grid turned the wall into a small family mural that breathed memory into the season.
Steps
- prepare small photo prints and cut backing cards to create pockets
- slip a photo into each pocket and add a short hand-written caption
- number pockets discreetly and mount them on a display board
- vary pocket spacing to create a pleasing visual pattern
- refresh the display by swapping photos or rotating positions
Magnetic tin lids that cling to a steel frame
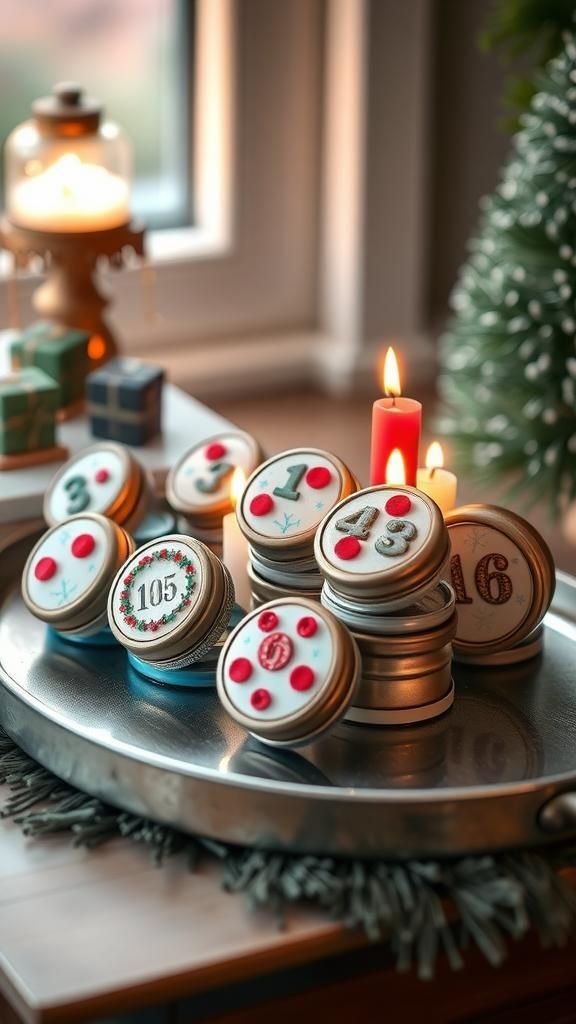
Magnetic lids felt playful when they clicked onto a metal sheet, each one a small disk with a different look. The cool surface of steel and the snap of magnet to metal created tiny, satisfying sounds.
I liked decorating lids with patterned paper or simple symbols, the contrast between metal sheen and paper matte catching the eye. The system allowed for casual rearrangement, which made the calendar feel alive as pieces moved around.
It was neat, a little industrial, and a fun counterpoint to softer textile ideas.
Steps
- collect metal lids and attach thin magnets to their backs using strong adhesive
- decorate lid faces with patterned paper, stickers, or simple inked numbers
- prepare a steel sheet or vintage baking tray as a magnetic board
- place decorated lids on the board in numerical order or an artful arrangement
- swap lids or change positions for a fresh visual every few days
Sock-puppet pockets with a playful homemade vibe
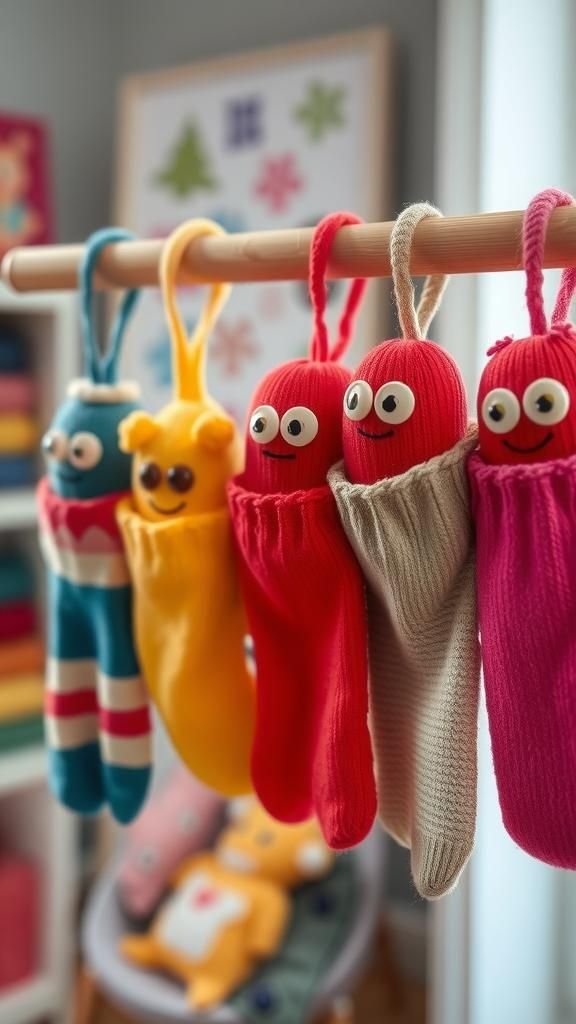
Old socks with personality became little puppet pockets, each one turned inside out to reveal a patterned cuff and perhaps a button eye. The soft knit fabric was comforting to touch and each cuff held a small surprise that felt cheeky when retrieved.
Buttons and stitched smiles gave each puppet a face, and the variety of colors made the row feel bright and friendly. Hung from hooks, the socks bobbed slightly and invited a childlike grin; the overall feeling was that of a whimsical, soft parade of tiny characters.
Steps
- select a set of clean, colorful socks and turn them inside out to form pockets
- add simple sewn features like button eyes or embroidered smiles
- place small treats or notes into each sock cuff and label them with numbers
- hang socks from hooks or a wooden rod using cloth loops
- adjust spacing so puppets face forward for display