I still remember the first tiny pendant I sealed with a pressed pansy and resin; the way the light slid through the petal made me smile for a long time. Playing with pressed flower resin jewelry crafts has felt like collecting small moments from walks and turning them into little keepsakes.
These projects are a gentle mix of quiet patience and bright surprises, where texture, translucence, and the faint scent of pressed blooms meet gloss and cool resin.
Making a piece often feels like catching a memory in a glossy drop of light.
Sunlit daisy pendant with glossy resin glow
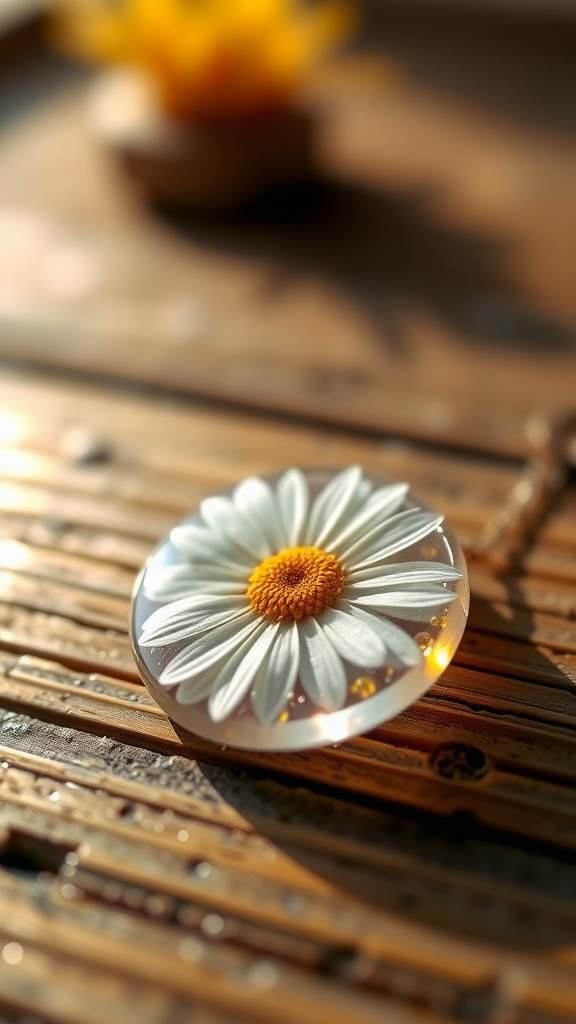
I made a daisy pendant that still sits on my favorite chain. The petal edges read like thin paper maps, translucent against the resin’s glassy face.
Light finds tiny veins and throws soft shadows that move as the pendant sways. There is a faint, old-garden scent in the pressed flower that mixes with the resin’s smooth coolness.
Holding it up to an afternoon window turns the tiny flower into a miniature stained-glass skylight, a little treasure that feels both delicate and solid in my hand.
Steps
- Choose a dried daisy and a bezel or pendant mold with a shallow cavity.
- Pour a thin layer of clear resin into the cavity and let it reach a gel-like tack.
- Place the daisy gently onto the tacky resin, add another resin layer to encapsulate, and allow to cure fully.
- Remove from the mold, sand any rough edges lightly if needed, and polish the surface to a high shine.
Tiny rose petal studs for everyday wear
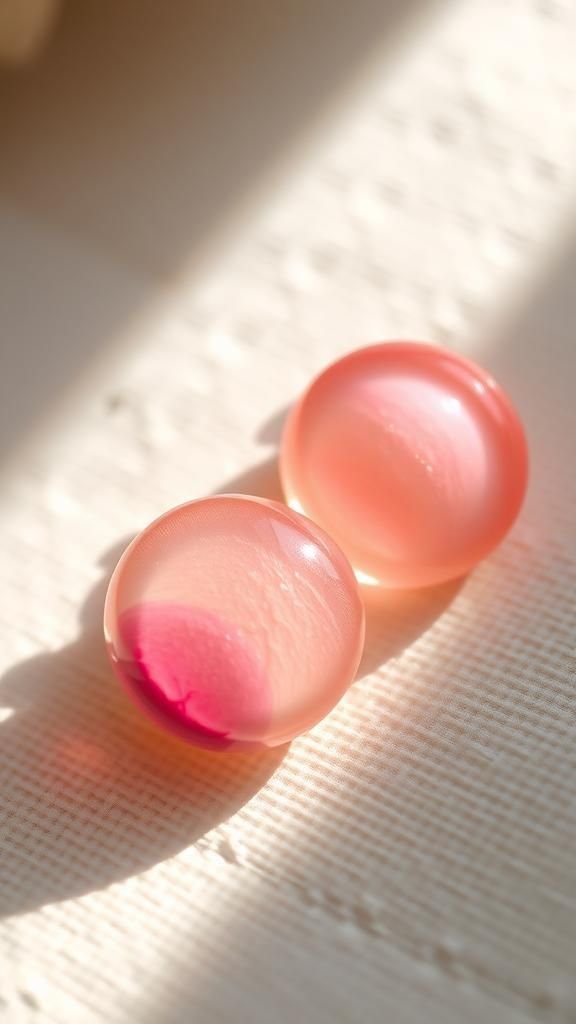
The small rose petal studs are the kind of jewelry that slips on and becomes part of a day. Each stud has a slice of a petal frozen under clear resin with a subtle domed surface that catches streetlight and lamp glow.
Texture from the petal can be felt when the piece is turned, and the edges hold a faint rim of gold or silver depending on the bezel chosen. I like how these studs read as simple but hold a private garden memory close to the ear.
Steps
- Select tiny pressed rose petals and matching stud bezels or molds.
- Add a base layer of resin, place the petal on top once tacky, then pour resin to encapsulate.
- Cure according to resin instructions, demold, then clean and attach the stud posts securely.
- Polish the dome gently to enhance clarity and remove any surface haze.
Layered botanical cabochons with depth and shimmer
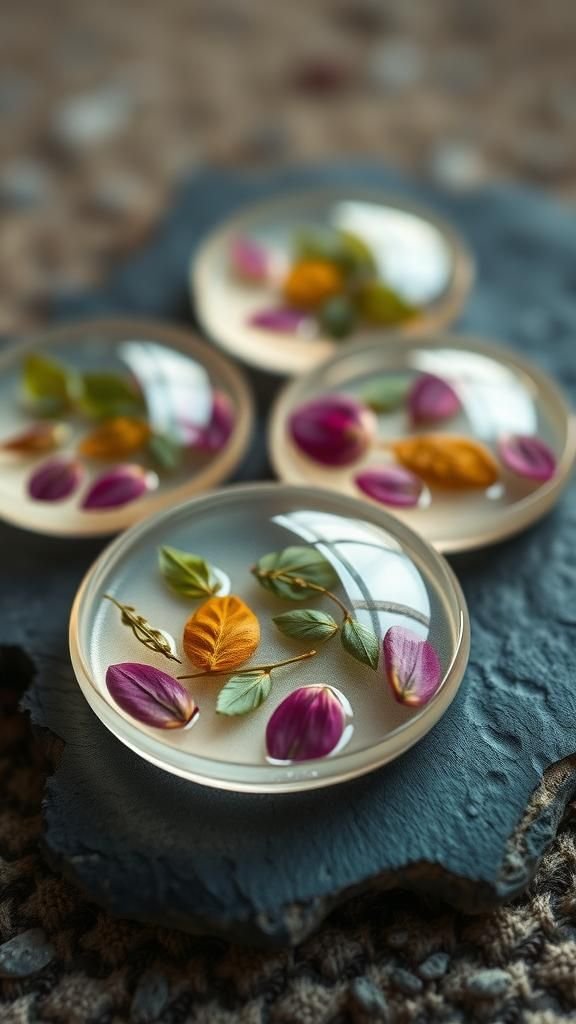
I experimented with layering tiny leaves and petals to build a sense of depth inside a cabochon, and the results felt like miniature clear dioramas. Each layer adds a faint shadow that hugs the next, creating a soft three-dimensionality.
The resin surface is cool and slick, while interior bits retain subtle texture and matte edges. When turned, inner elements drift visually, catching different highlights.
Holding one up to light feels like peering into a pocket of preserved afternoon light and a whisper of meadow air.
Steps
- Prepare several small pressed leaves and petals sorted by thinness and color.
- Pour a shallow layer of resin into a cabochon mold and let it reach a tacky phase.
- Place the first botanical, cure partially, and repeat layering until desired depth is achieved.
- Finish with a final resin pour to fully encapsulate, cure, demold, and polish the surface.
Vintage pressed fern drop earrings with movement
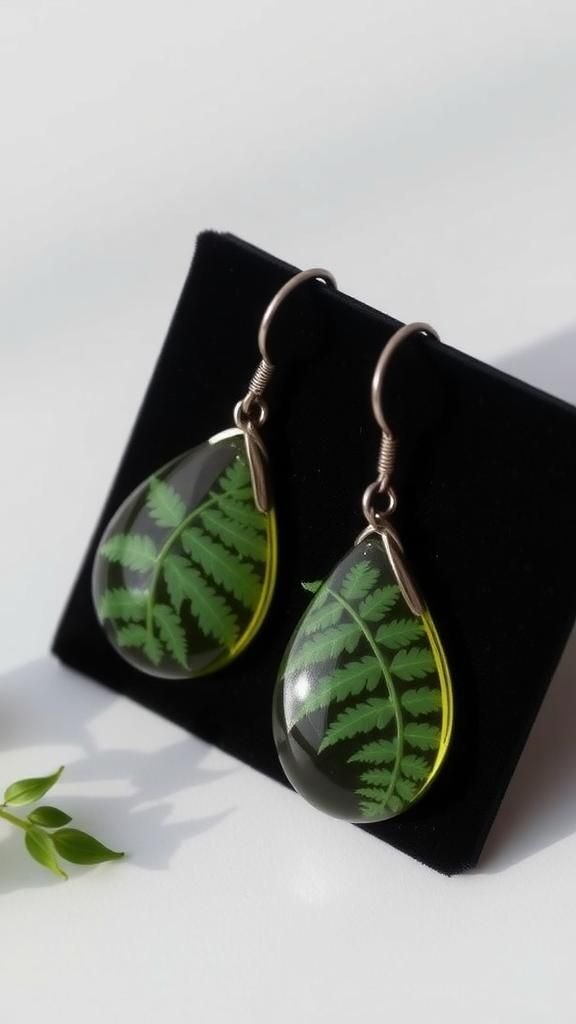
Fern drop earrings from my bench are a gentle reminder of damp forest walks. The fern fronds press into the resin with a lace-like pattern that keeps a whisper of brittleness despite the glossy finish.
When worn, the drops sway and catch specks of light, casting miniature fern shadows onto skin. The cool weight of the resin balances the fragile look, and the green shifts through muted olive to nearly translucent sections depending on light.
They feel like a small piece of undergrowth hung close to the face.
Steps
- Select flattened fern fronds that sit comfortably in an earring mold.
- Pour resin to form a thin base layer, place the fern once tacky, then add more resin to cover.
- Allow thorough curing, demold gently, and trim or sand edges for a clean silhouette.
- Attach earring findings or hooks and check balance before final polish.
Gold-leaf halo pendant with pressed wildflowers

Combining a whisper of metallic leaf with tiny wildflowers made one of those pieces that feels slightly ceremonial in a small way. The gold leaf sits like a sunrise behind the pressed blooms, picking out edges and lending warmth to the cool resin.
The wildflowers appear to float, their colors deepened by the warm reflection. There is a pleasing contrast between the smooth, reflective metal and the fragile matte veins of petals.
Wearing it always draws comments and a chance to tell the origin of the flowers.
Steps
- Prepare pressed wildflowers and a pendant bezel, and gently place small pieces of metallic leaf in the bezel base.
- Pour a thin layer of resin over the metal leaf to secure it.
- Arrange the flowers on the tacky resin layer, then pour enough resin to cover and encapsulate everything.
- Allow full cure, demold, and buff the surface for a luminous finish.
Geometric resin inlay bracelet with tiny blooms
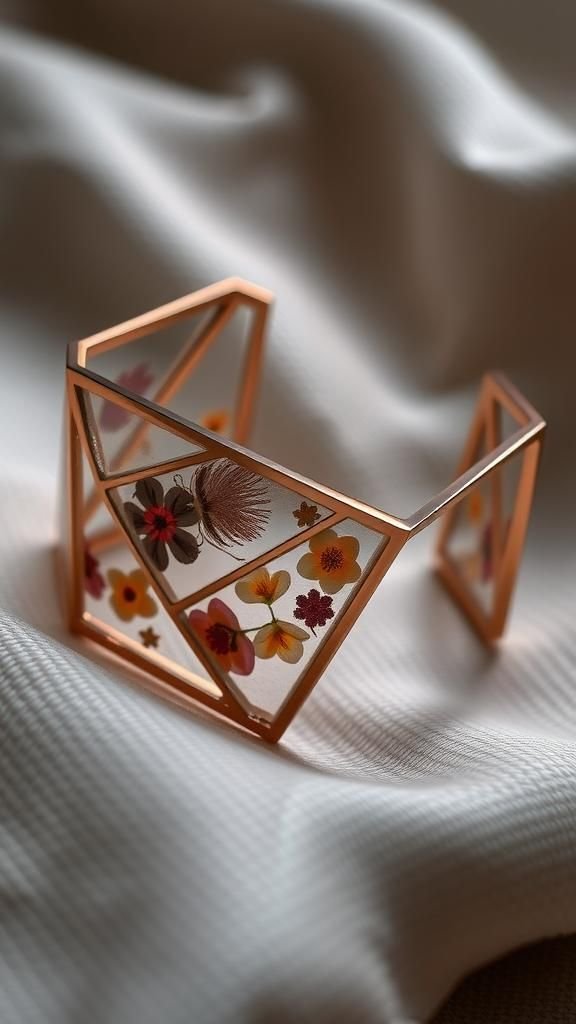
A chunky geometric bracelet felt surprisingly soft with tiny flowers suspended within each inlay. The straight lines of the metal cuff contrasted with organic petal forms hidden under glass-like resin, creating a quiet tension.
When moved, the plants inside appear to drift toward corners and then recede, and the glossy surface picks up streetlight and café lamps. The touch is cool, the edges smooth, and the visual language is an interplay between human geometry and botanical curves.
It became a favorite when wanting a little drama without loudness.
Steps
- Choose a metal cuff with recessed channels or create molds for geometric inlays.
- Place small pressed flower fragments into the channels, arranging them to complement the shapes.
- Pour mixed resin into each recess, smoothing the surface, and allow to cure completely.
- Clean edges, polish the finished bracelet, and ensure inlays are level and glossy.
Asymmetrical mixed-botanical statement necklace piece
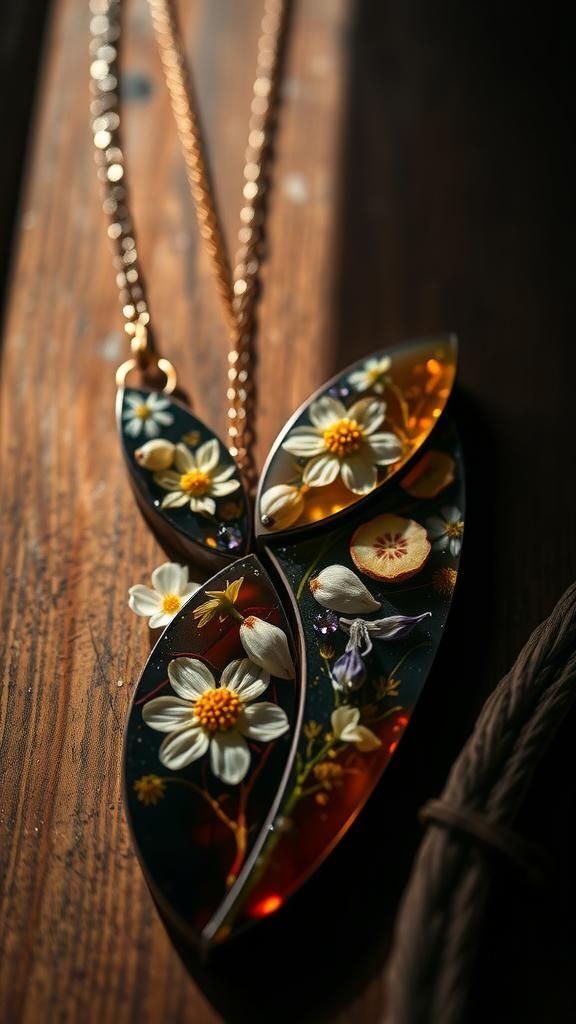
I put together an asymmetrical necklace that feels like a fragment of a meadow clipped into jewel form. One side bears a cluster of minuscule petals trapped under resin, while the other holds a single stark leaf, creating an off-kilter balance that reads intentional.
The resin’s gloss makes the cluster look like a small pond of blooms, and the single leaf offers a quiet counterpoint. Wearing it brings a sense of collectedness, like wearing a small bouquet that has been flattened and given a second life as ornament.
Steps
- Gather an assortment of pressed botanicals chosen for contrast in size and tone.
- Arrange botanicals in an asymmetrical layout within a custom pendant mold.
- Pour resin to cover all elements, eliminate bubbles, and allow for a complete cure.
- Finish by demolding, refining edges, and attaching chain or necklace hardware.
Encapsulated pastel poppy ring for gentle color
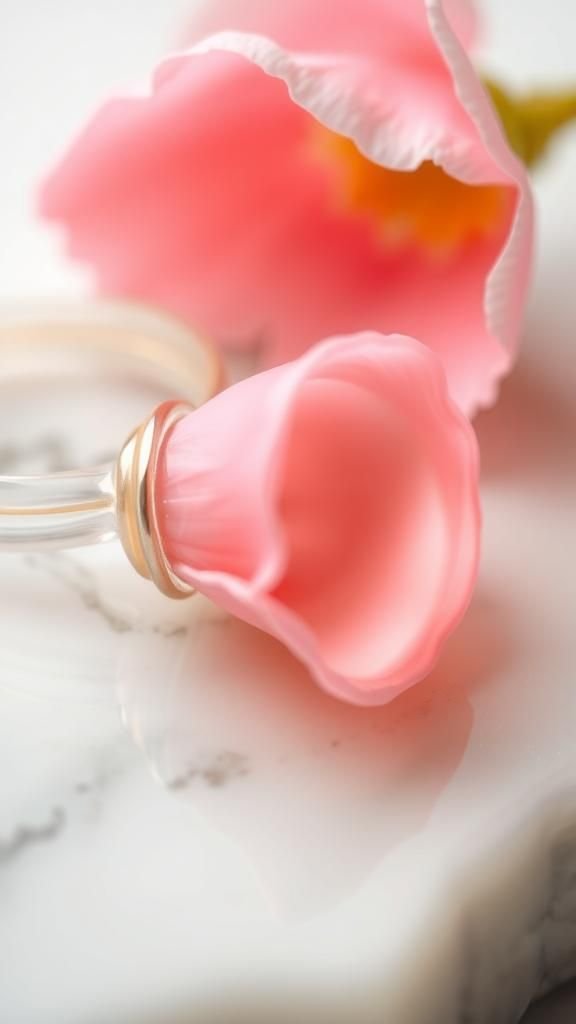
A pastel poppy ring became my favorite for days when I wanted a soft pop of color. The poppy’s faint blush and paper-thin petal edges are cushioned under resin that makes them glow like tiny lanterns.
The ring band offers a cool contrast to the warm center, and the dome shape magnifies petal detail when glanced at. The tactile sensation is smooth and slightly heavy on the finger, giving the piece a presence without being cumbersome.
It feels like wearing a secret summer afternoon.
Steps
- Select a flattened poppy petal and a ring bezel sized comfortably for the finger.
- Pour resin into the bezel up to a shallow level, wait until tacky, then place the petal gently.
- Add resin to fill the bezel and create a domed top, allowing full cure between pours if layering is desired.
- Demold, clean the bezel edges, and polish the resin dome for clarity.
Minimalist clear resin bangle with single bloom
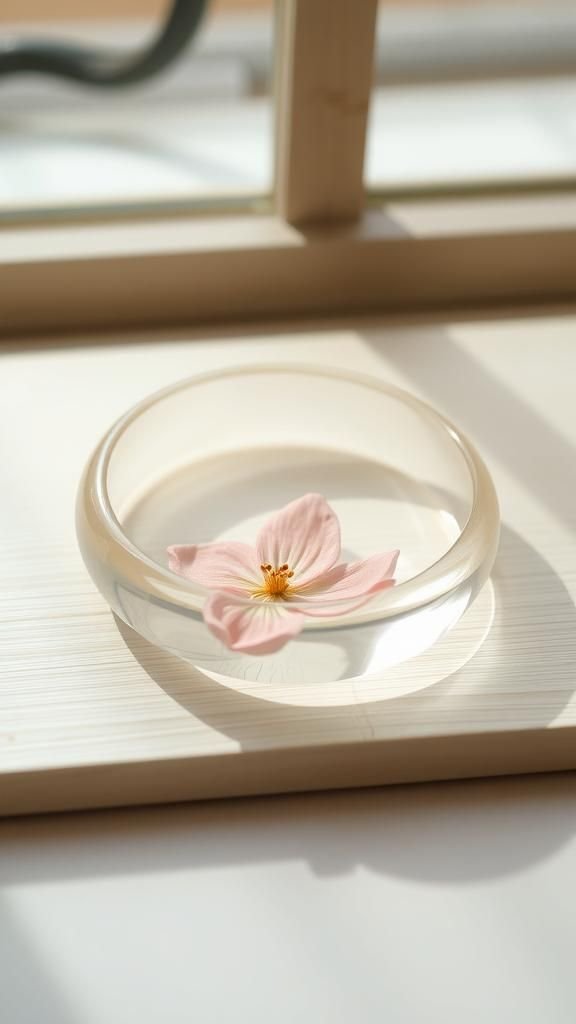
A single bloom sealed into a wide clear bangle made a surprisingly serene accessory. The flower appears suspended mid-band, visible from any angle, and the resin’s inner surface magnifies the bloom slightly, giving it a gentle floating effect.
The bangle is cool to the touch and carries a small, matte interruption where the stem tucks into the resin depth. It is the sort of piece that feels quiet and deliberate on the wrist, turning the simplest garden find into a wearable pause from the rush of the day.
Steps
- Choose a rigid bangle mold and a well-pressed small bloom that sits flat.
- Pour a resin layer into the mold, place the bloom once tacky, then pour enough resin to encase it.
- Cure thoroughly, demold the bangle, and sand or polish the edges for comfort.
- Buff the exterior to a glass-like finish to enhance clarity and shine.
Tiny botanical charm bracelet that tells stories
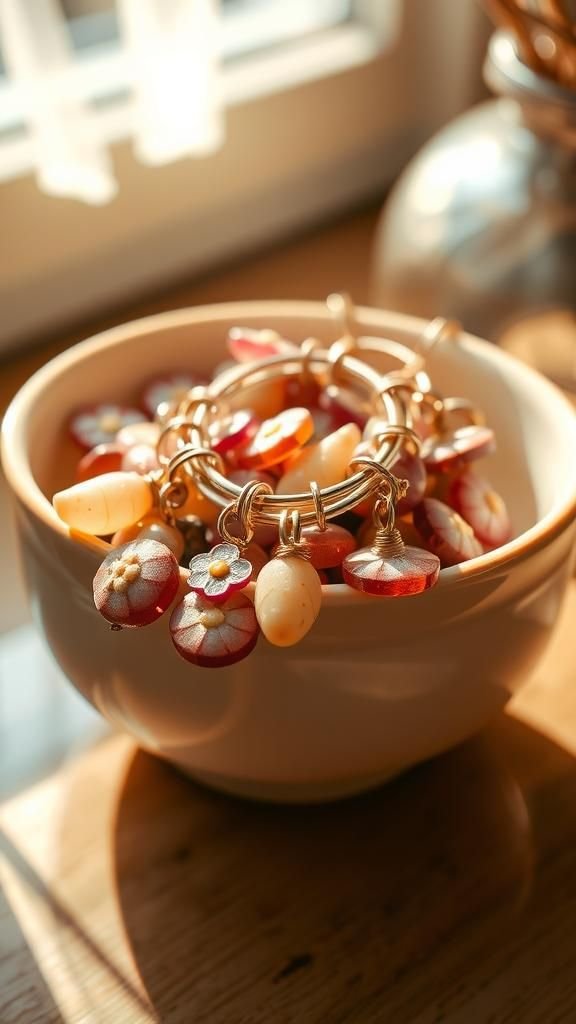
A charm bracelet dotted with tiny botanical resin charms became a timeline of small outings. Each charm is a miniature specimen preserved in a glossy drop, and the chain moves with a cheerful clinking sound that feels companionable.
Colors vary from dusty blues to sun-faded yellows, and the resin preserves edges that still show the texture of pressed petals. When the bracelet brushes against clothing, the charms catch light and invite a closer look, prompting short conversations about where each plant was found and why it mattered that day.
Steps
- Create multiple small resin charms by pouring resin into tiny molds and embedding different pressed botanicals.
- Allow each charm to cure fully, then demold and tidy up edges as needed.
- Attach jump rings to each charm and link them onto a bracelet chain with spacing that feels balanced.
- Check closures and polish charms to enhance shine before wearing.
Delicate locket with tiny pressed petal scene
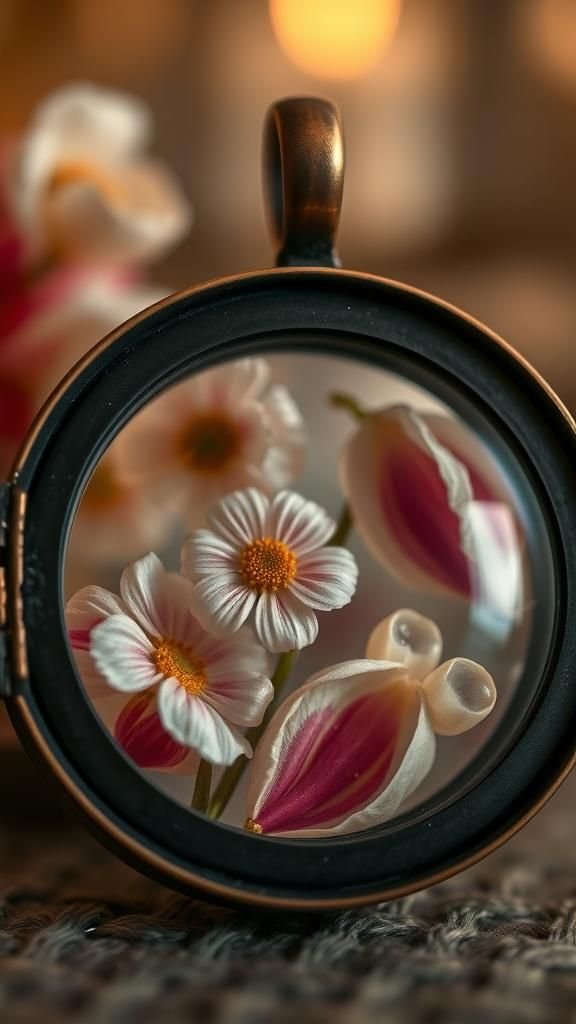
Creating a tiny pressed petal scene inside a locket felt like preserving a little weather report from a picnic. The locket’s interior holds a shallow resin bed where one or two petals rest, their edges soft and slightly curled even after pressing.
When opened, the locket reflects light through the resin and turns the petals into a private vignette. The metal came away with faint fingerprints from handling, which added to the hand-made charm and sense of time caught in a small hinge and a glossy, floral center.
Steps
- Select a locket with a shallow interior and arrange one or two small pressed petals to fit the space.
- Carefully pour a small amount of resin into the locket base, place the petals on the tacky surface, and add more resin to cover.
- Allow the resin to cure fully, then clean any overflow from the locket rim.
- Close the locket and polish the exterior to a soft sheen, mindful of any metal patina.
Botanical cufflinks with pressed leaf silhouettes
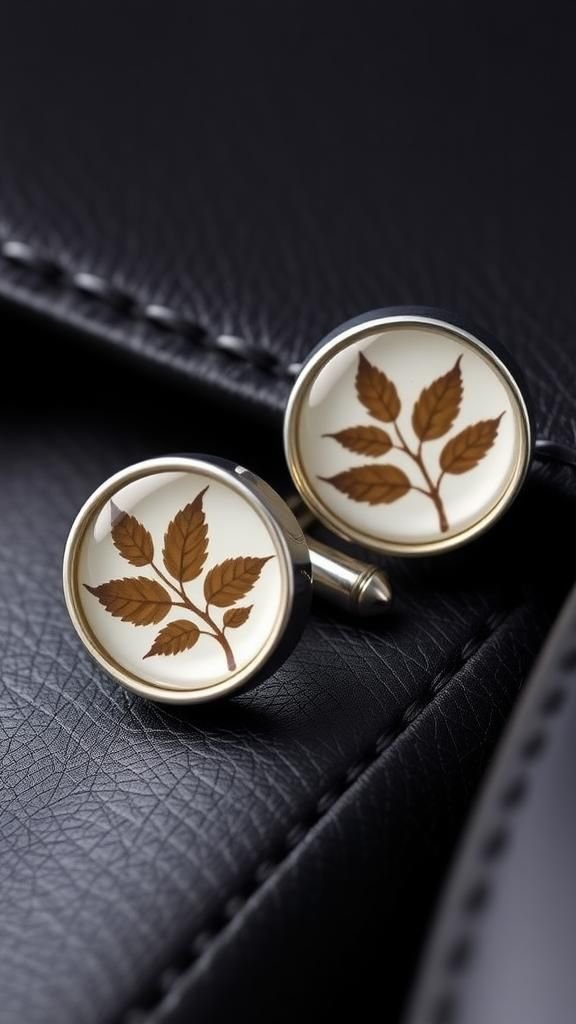
I fashioned cufflinks with tiny leaf silhouettes pressed into resin and mounted into classic settings, and they always feel like a quiet joke between me and nature. The leaves keep a papery texture beneath the glossy top and create subtle variations in translucence at the edges.
Light plays differently on each cufflink, and the metal frames add a reflective border that frames the botanical like a tiny painting. They sit snug against the wrist, cool and smooth, offering a little grown-up nod to simple outdoor pleasures.
Steps
- Press small, flat leaves and choose cufflink settings that allow resin fills.
- Pour resin into the cufflink cups, place the leaf while resin is tacky, then top with more resin.
- Allow thorough curing, remove any excess, and polish the resin to clear gloss.
- Assemble the cufflink backs securely and check for comfortable edges.
Layered charm necklace with tiny coastal blooms
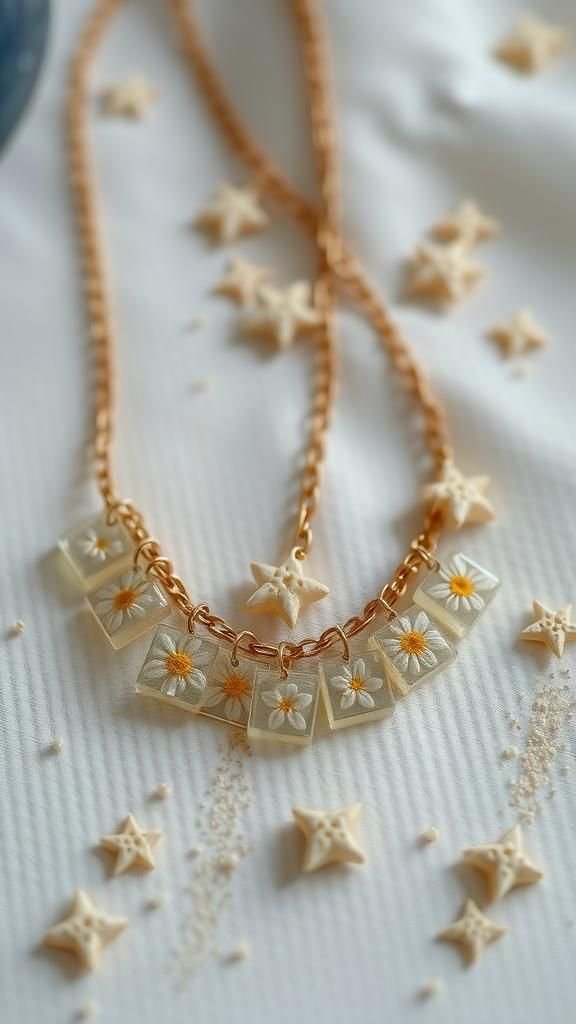
I collected tiny coastal blooms on a foggy morning and later layered them into a charm necklace that keeps that breeze close. Each charm is a miniature world of salt-bleached color under resin, and the layered arrangement creates a slow reveal as the chain moves.
The charms catch sea-glow and pick up soft blues and creams from the petals. There is a faint texture under the gloss where grains of sand once clung to petals, and the whole piece feels like a wearable postcard from a shoreline walk.
Steps
- Prepare several small charms by embedding coastal-pressed blooms into resin molds and allowing them to cure.
- Tidy charms by trimming edges and drilling tiny holes for jump rings if necessary.
- Link charms onto a chain at staggered lengths to create a layered look and attach a clasp.
- Check movement and polish each charm to ensure clarity and shine.
Translucent heart pendant with field-flower collage
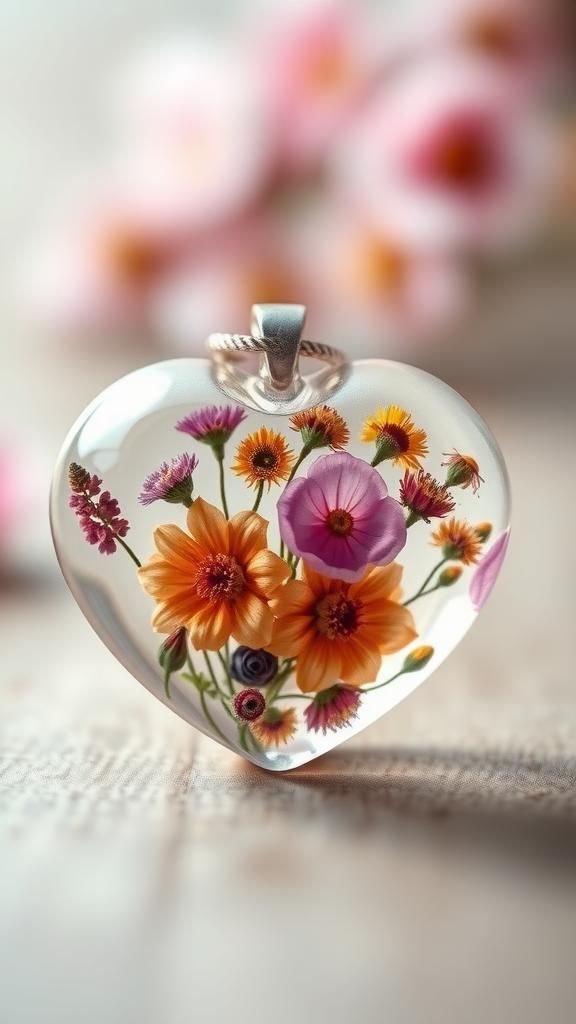
A heart-shaped pendant filled with a collage of field flowers felt like folding a meadow into something wearable. The petals overlap in places, creating new hues where colors mingle, and tiny stems weave a faint lattice beneath the glossy surface.
The pendant carries a subtle, cool weight and the resin dome catches light like a miniature window. There is a tactile softness to the edges, and every glance reveals different contrasts depending on the angle.
It became a piece I reached for on days when I wanted a gentle, familiar comfort.
Steps
- Arrange a small collage of pressed field flowers in a heart-shaped bezel or mold to visualize composition.
- Pour a base layer of resin, position the collage on the tacky layer, and add resin to encapsulate.
- Allow full curing, then demold carefully, smooth any rough edges, and polish the surface to a shine.
- Attach a jump ring and chain, and inspect the pendant for clarity and balance.
Stepped bezel earrings with shadowed petals
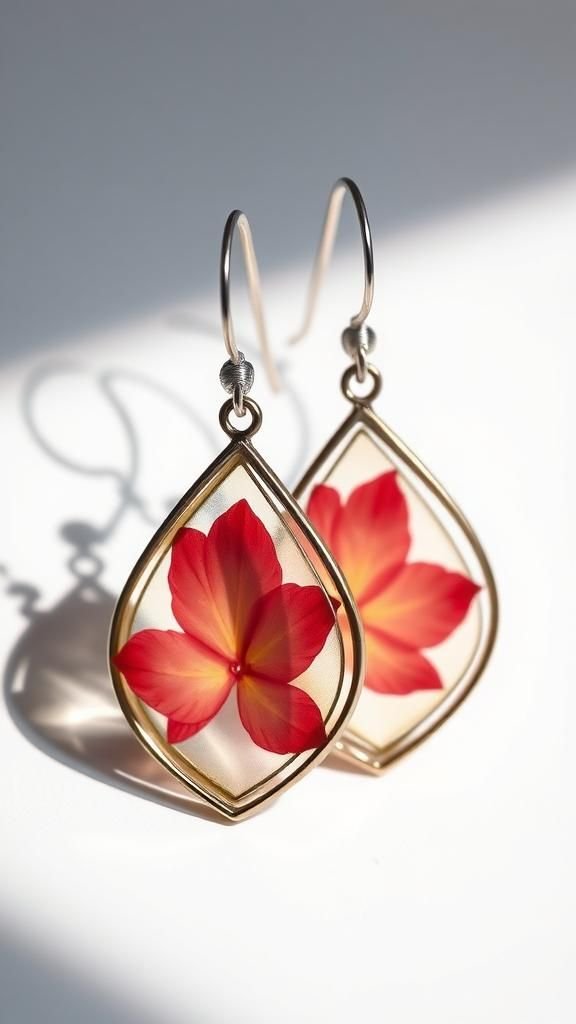
I made stepped bezel earrings where petals sit at different heights beneath the resin, creating soft shadows that shift with movement. The small elevation changes inside the resin make each earring read like layered paper art.
The metal bezels frame the botanical shapes and add a crisp boundary to the organic forms. When held up, the petals throw faint silhouettes onto the bezel backs, and light riding across the resin highlights microscopic textures.
They feel measured and tender at the same time, a balance of craft and gentle botanical spontaneity.
Steps
- Select shallow bezels and pressed petals of various thicknesses to build internal elevation.
- Pour a thin resin layer into each bezel, place a petal once tacky, cure partly, and repeat to create steps.
- Finish with a clear top layer of resin, allow full cure, and demold.
- Polish surfaces and attach earring hooks or posts securely.
Botanical pendant with embedded seed pods and resin
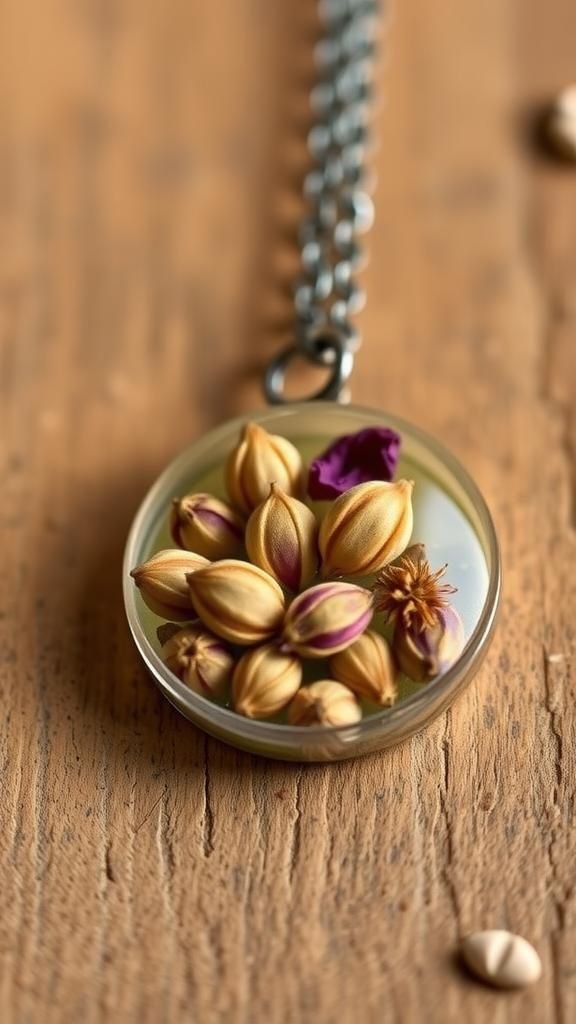
A pendant that encapsulated tiny seed pods alongside petals had a satisfying contrast of forms. The pods kept a matte, textured quality that read differently against the glossy resin, and the petals provided soft color that warmed the composition.
The pendant felt like a small collection of lifecycle moments, held still. Touching the resin offers a cool smoothness, while the visual textures suggest roughness and age beneath.
It became a piece that prompted curiosity, as friends would hold it up and peer at the tiny saved beginnings inside.
Steps
- Choose small pressed seed pods and complementary petals that sit flat in a pendant mold.
- Pour an initial resin layer, arrange the botanical elements artfully, and add more resin to cover.
- Allow the piece to cure fully, then demold carefully to preserve detail.
- Smooth any edges and polish the resin surface to enhance clarity.
Iridescent gloss pendant with tiny pressed petals
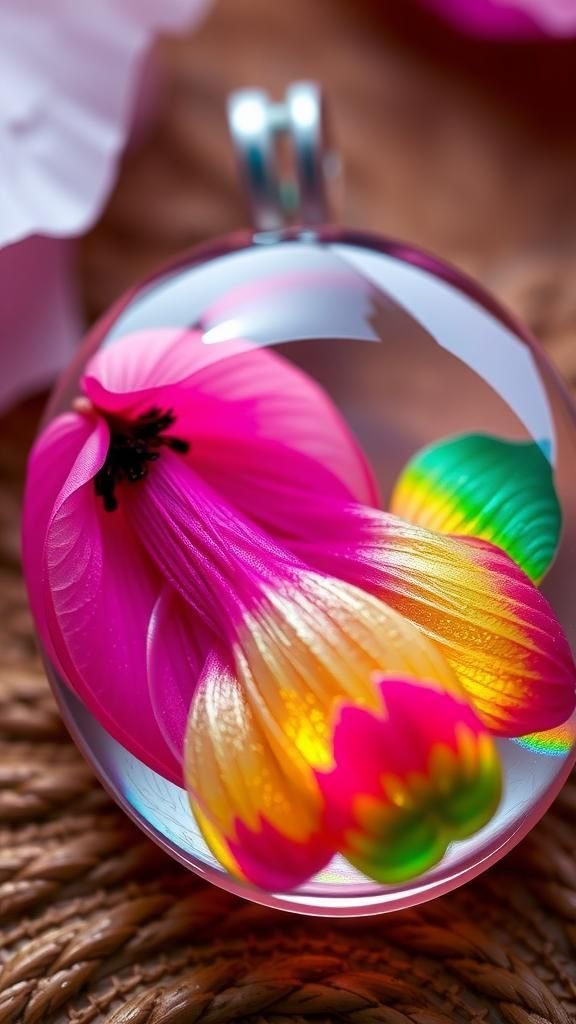
An iridescent finish over pressed petals made a pendant that flashed like a small soap bubble. The petals underneath remained quietly detailed, while the surface sheen shifted from pink to green as the angle changed.
The effect felt playful and slightly magical, as if the preserved flower had a mood ring. The resin remained smooth and cool, and the iridescent layer gave morning light a prismatic nudge.
Wearing it on a bright day became a little ritual of watching colors move and deciding which shade fit the mood.
Steps
- Prepare a pendant with pressed petals sealed under clear resin and fully cured.
- Apply an iridescent resin or mica topcoat thinly over the cured surface according to product guidance.
- Allow the topcoat to cure thoroughly, then buff gently to blend the shimmer into the dome.
- Inspect under light to ensure an even, color-shifting finish and clean any residue from the edges.
Antique brass frame brooch with dried buds

A brooch set in an antique brass frame carrying a cluster of dried buds felt like a keepsake borrowed from a memory box. The brass patina warmed the cool resin, and the tiny buds sat as if tucked under a protective glass.
The brooch had a satisfying weight and an old-fashioned rhythm when pinned to fabric. The buds’ surfaces kept slight matte textures beneath the glossy dome, and the whole piece suggested an heirloom that had traveled through pockets and suitcases before ending up on a lapel.
Steps
- Select a brass brooch frame and arrange small dried buds in the bezel area.
- Pour resin to cover the botanicals, ensuring the buds are fully encapsulated without large air pockets.
- Allow complete curing, then trim any excess and polish the edges for a clean finish.
- Test the brooch pin for secure fastening and buff the brass frame gently to enhance its patina.
Double-sided reversible pendant with tiny moss
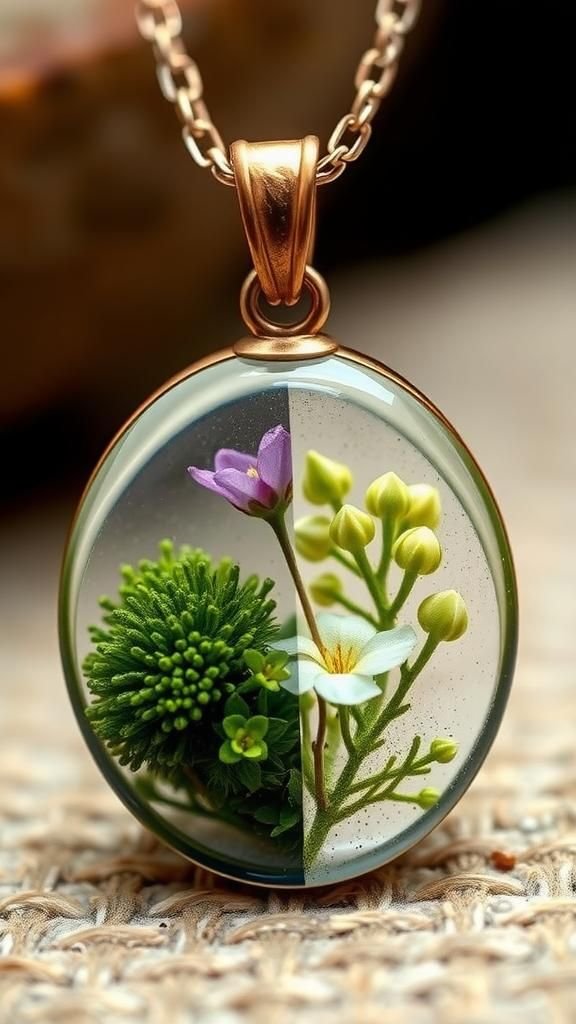
A double-sided pendant that showed pressed moss on one face and a tiny bloom on the other became unexpectedly fun to wear. The moss’s texture reads as velvety green beneath resin, contrasting with the bloom’s papery softness on the reverse.
Turning the pendant offers two moods, like choosing between a quiet forest and a bright clearing. The resin makes the moss look slightly luminous, and the blooms pick up tiny highlights.
The piece feels tactile despite its smoothness, with the double imagery offering small private choices throughout the day.
Steps
- Prepare two shallow pendant halves in a reversible mold and place pressed moss in one half and a small bloom in the other.
- Pour resin into each half to encapsulate the botanicals and cure them fully.
- Join the two halves with a thin layer of resin or a bezel that allows reversal, ensuring alignment.
- Cure the joint, smooth edges, and add a chain or loop for wearing.
Ethereal teardrop earrings with translucent petals
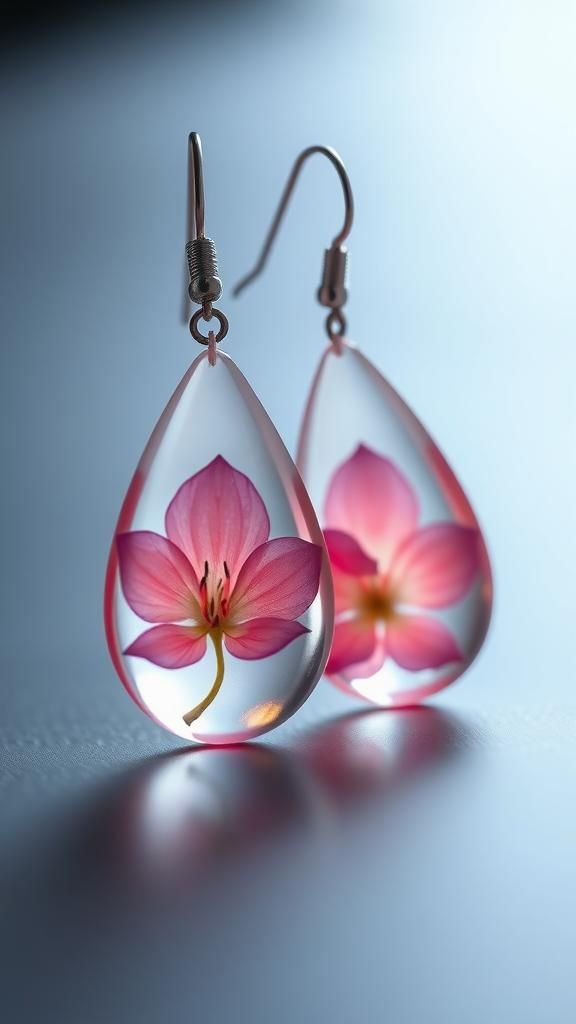
Teardrop earrings with ultra-thin translucent petals under resin felt like wearing small lanterns. The petals diffused light and created a soft inner glow that read as both airy and composed.
Movement changed the intensity of the glow, and when caught in sunlight the teardrops flared with a momentary brilliance at the edges. The cool smooth surface contrasted with the delicate interior, and each earring carried a slight unique cloud of tiny bubbles that looked like a micro weather pattern.
They became a soft focal point without overpowering an outfit.
Steps
- Select very thin, translucent petals and form them into teardrop molds prepared with a base resin layer.
- Place the petals gently once the base is tacky, then pour resin to fill the teardrop and encapsulate the petals.
- Allow to cure completely, demold carefully, and refine edges if necessary.
- Attach earring findings and polish surfaces for a clear, glass-like finish.
Botanical mosaic pendant with tiny pressed fragments
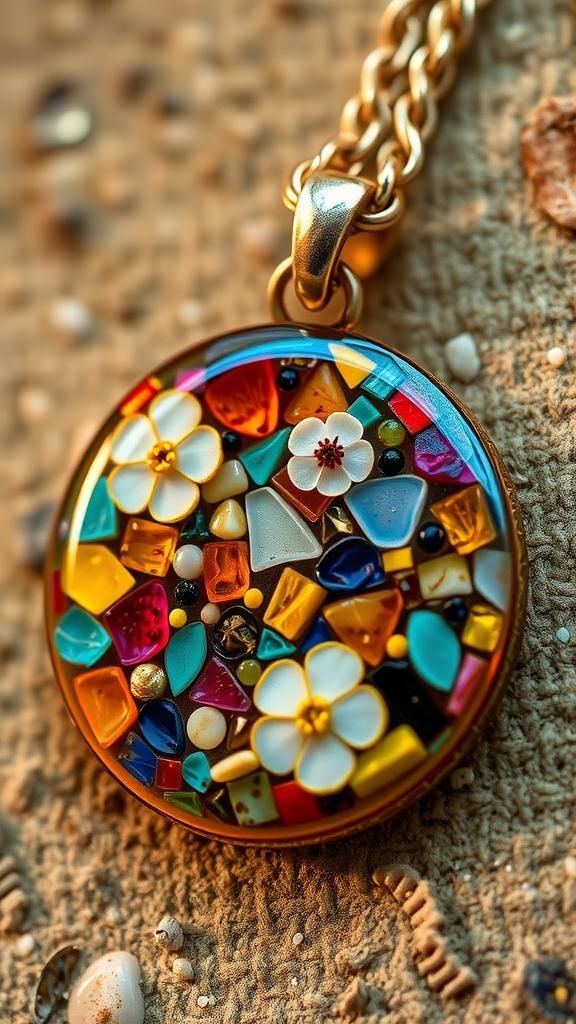
I found joy in creating a botanical mosaic pendant made from tiny fragments of petals and leaf bits arranged like a little collage. The pieces sit close together under resin, forming new colors where edges meet and creating an almost textile-like pattern.
The surface is smooth and uninterrupted, but within lies a lively, stitched appearance. Light picks out the seams and gives the pendant a handcrafted, stitched feeling despite the glassy top.
It became one of those pieces people watch for a moment before asking where it came from.
Steps
- Cut small fragments of pressed petals and leaves to create a palette of shapes and hues.
- Arrange the fragments into a pendant bezel in a mosaic pattern to visualize composition.
- Pour resin to encapsulate the mosaic, ensuring coverage and minimal trapped air, then cure fully.
- Demold, refine edges, and polish the surface to enhance internal color and contrast.